Tangent Handrailing, the process.

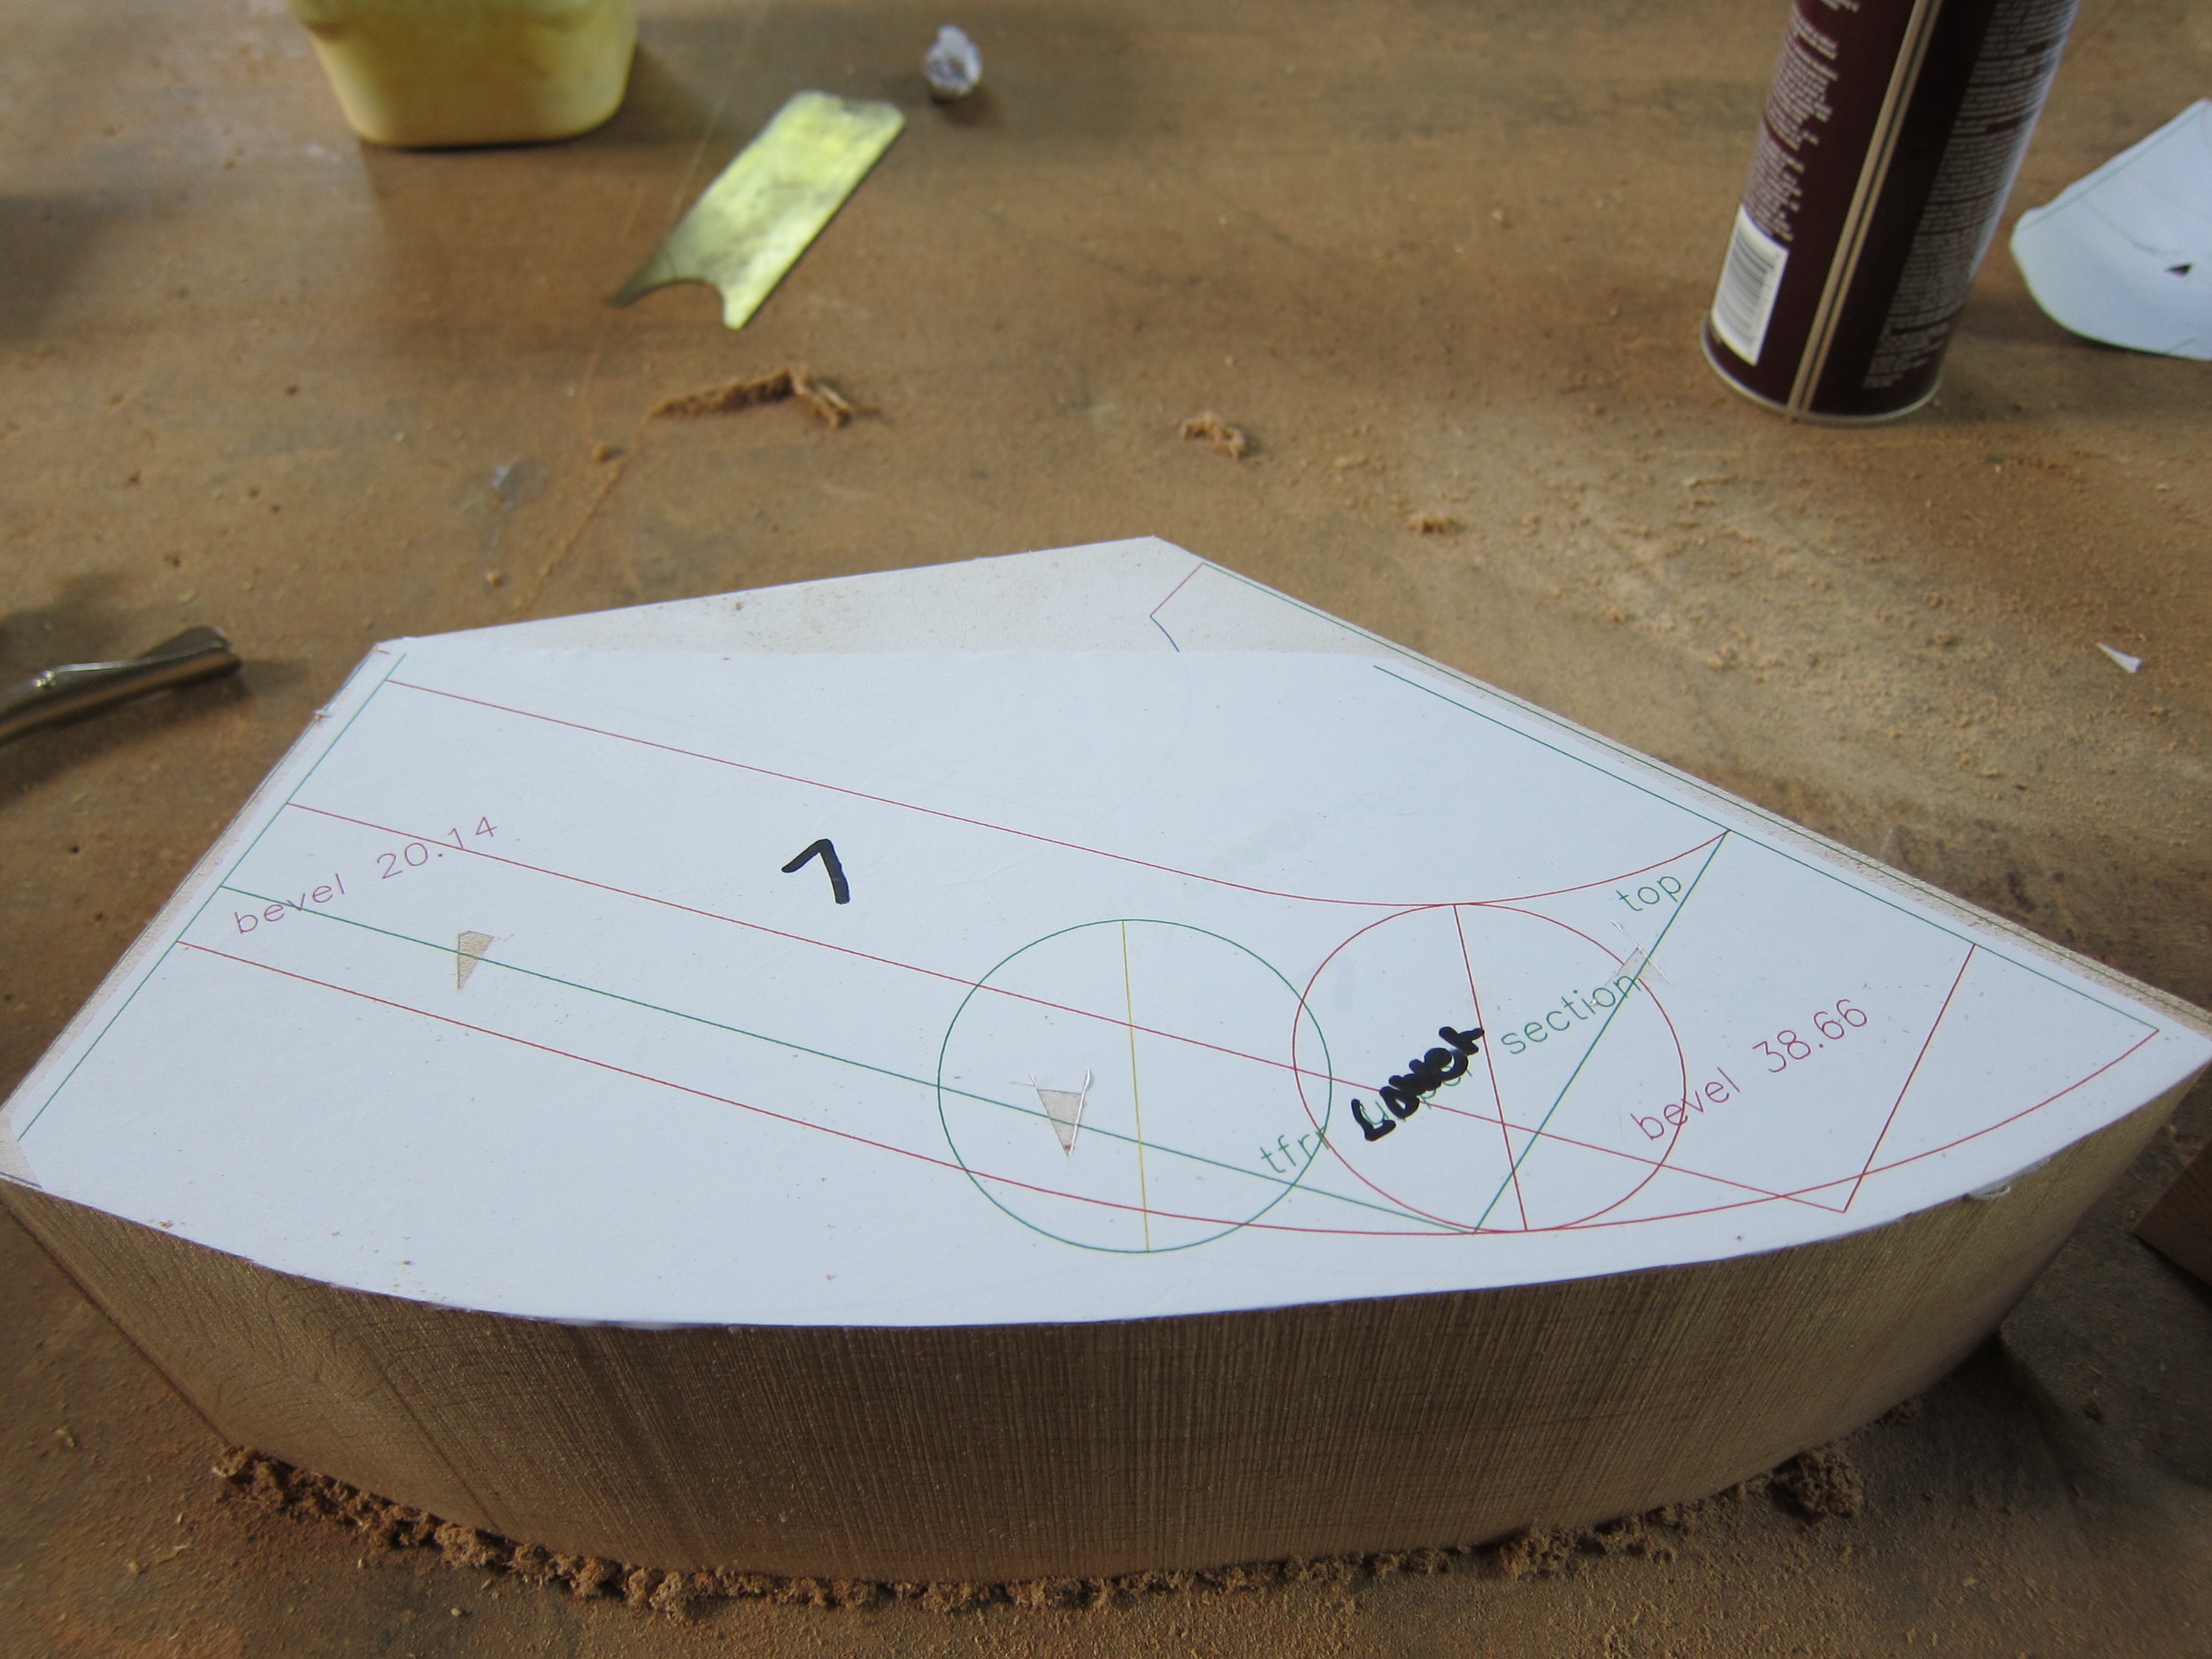
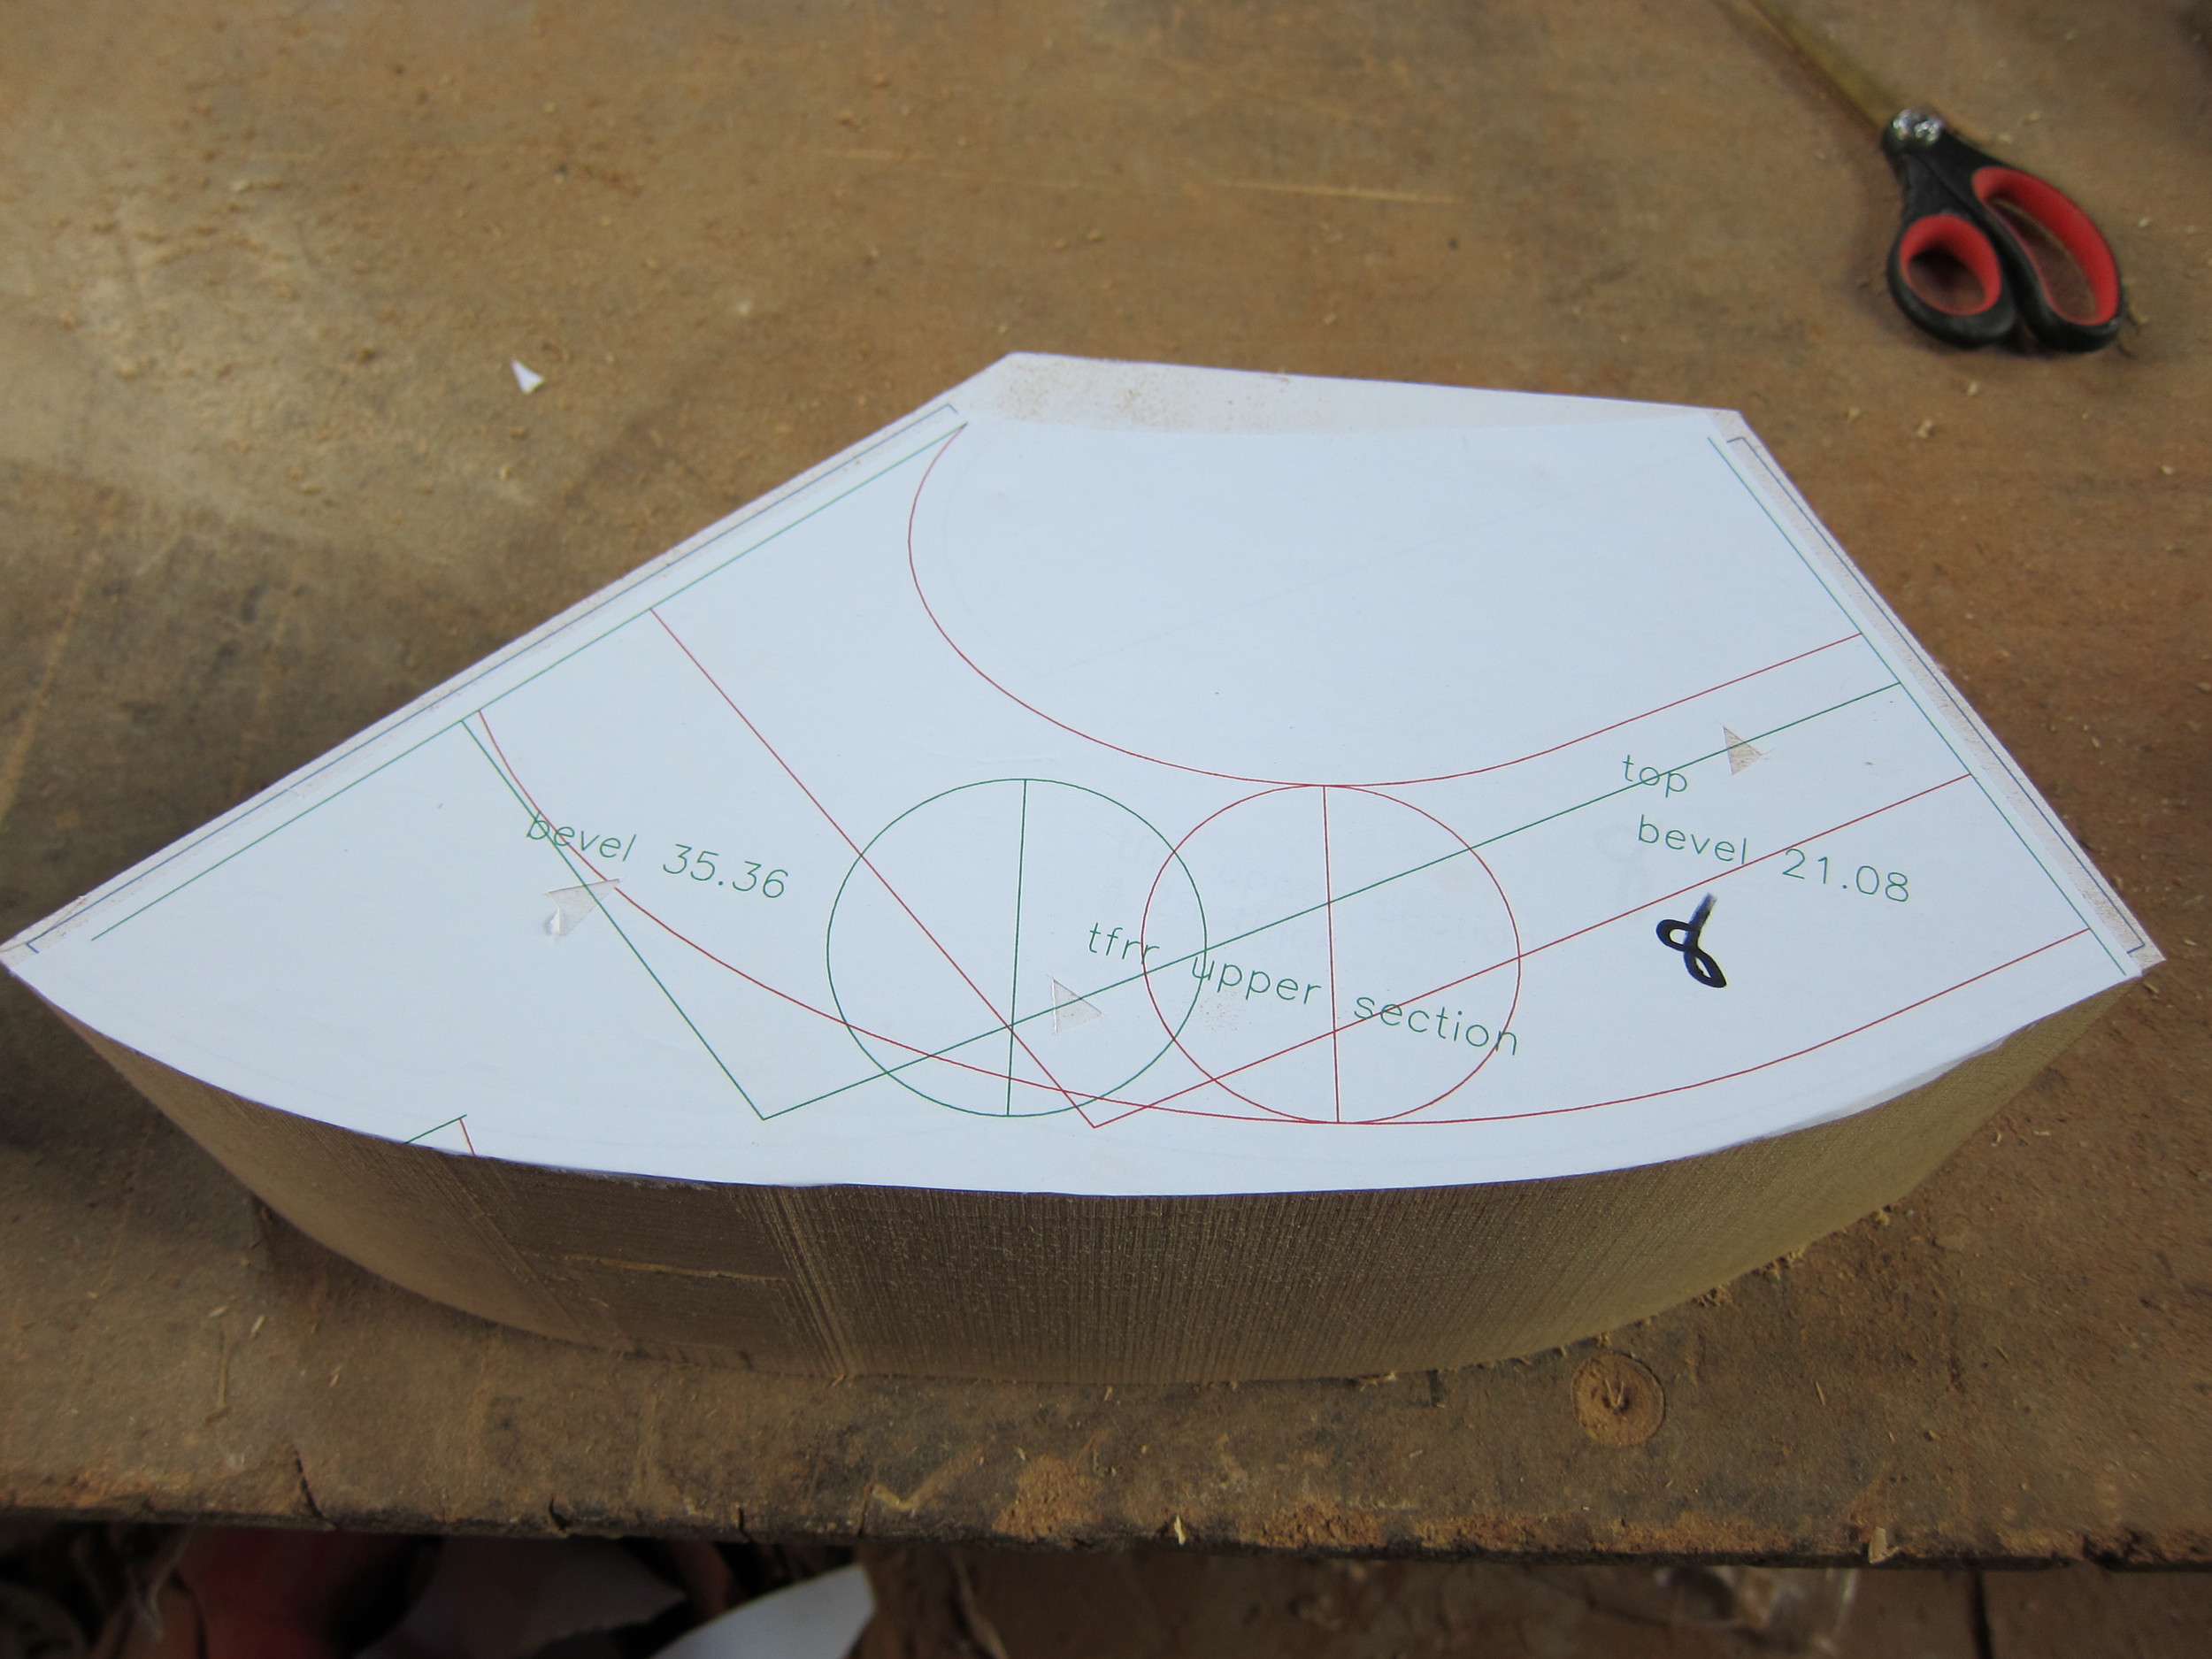
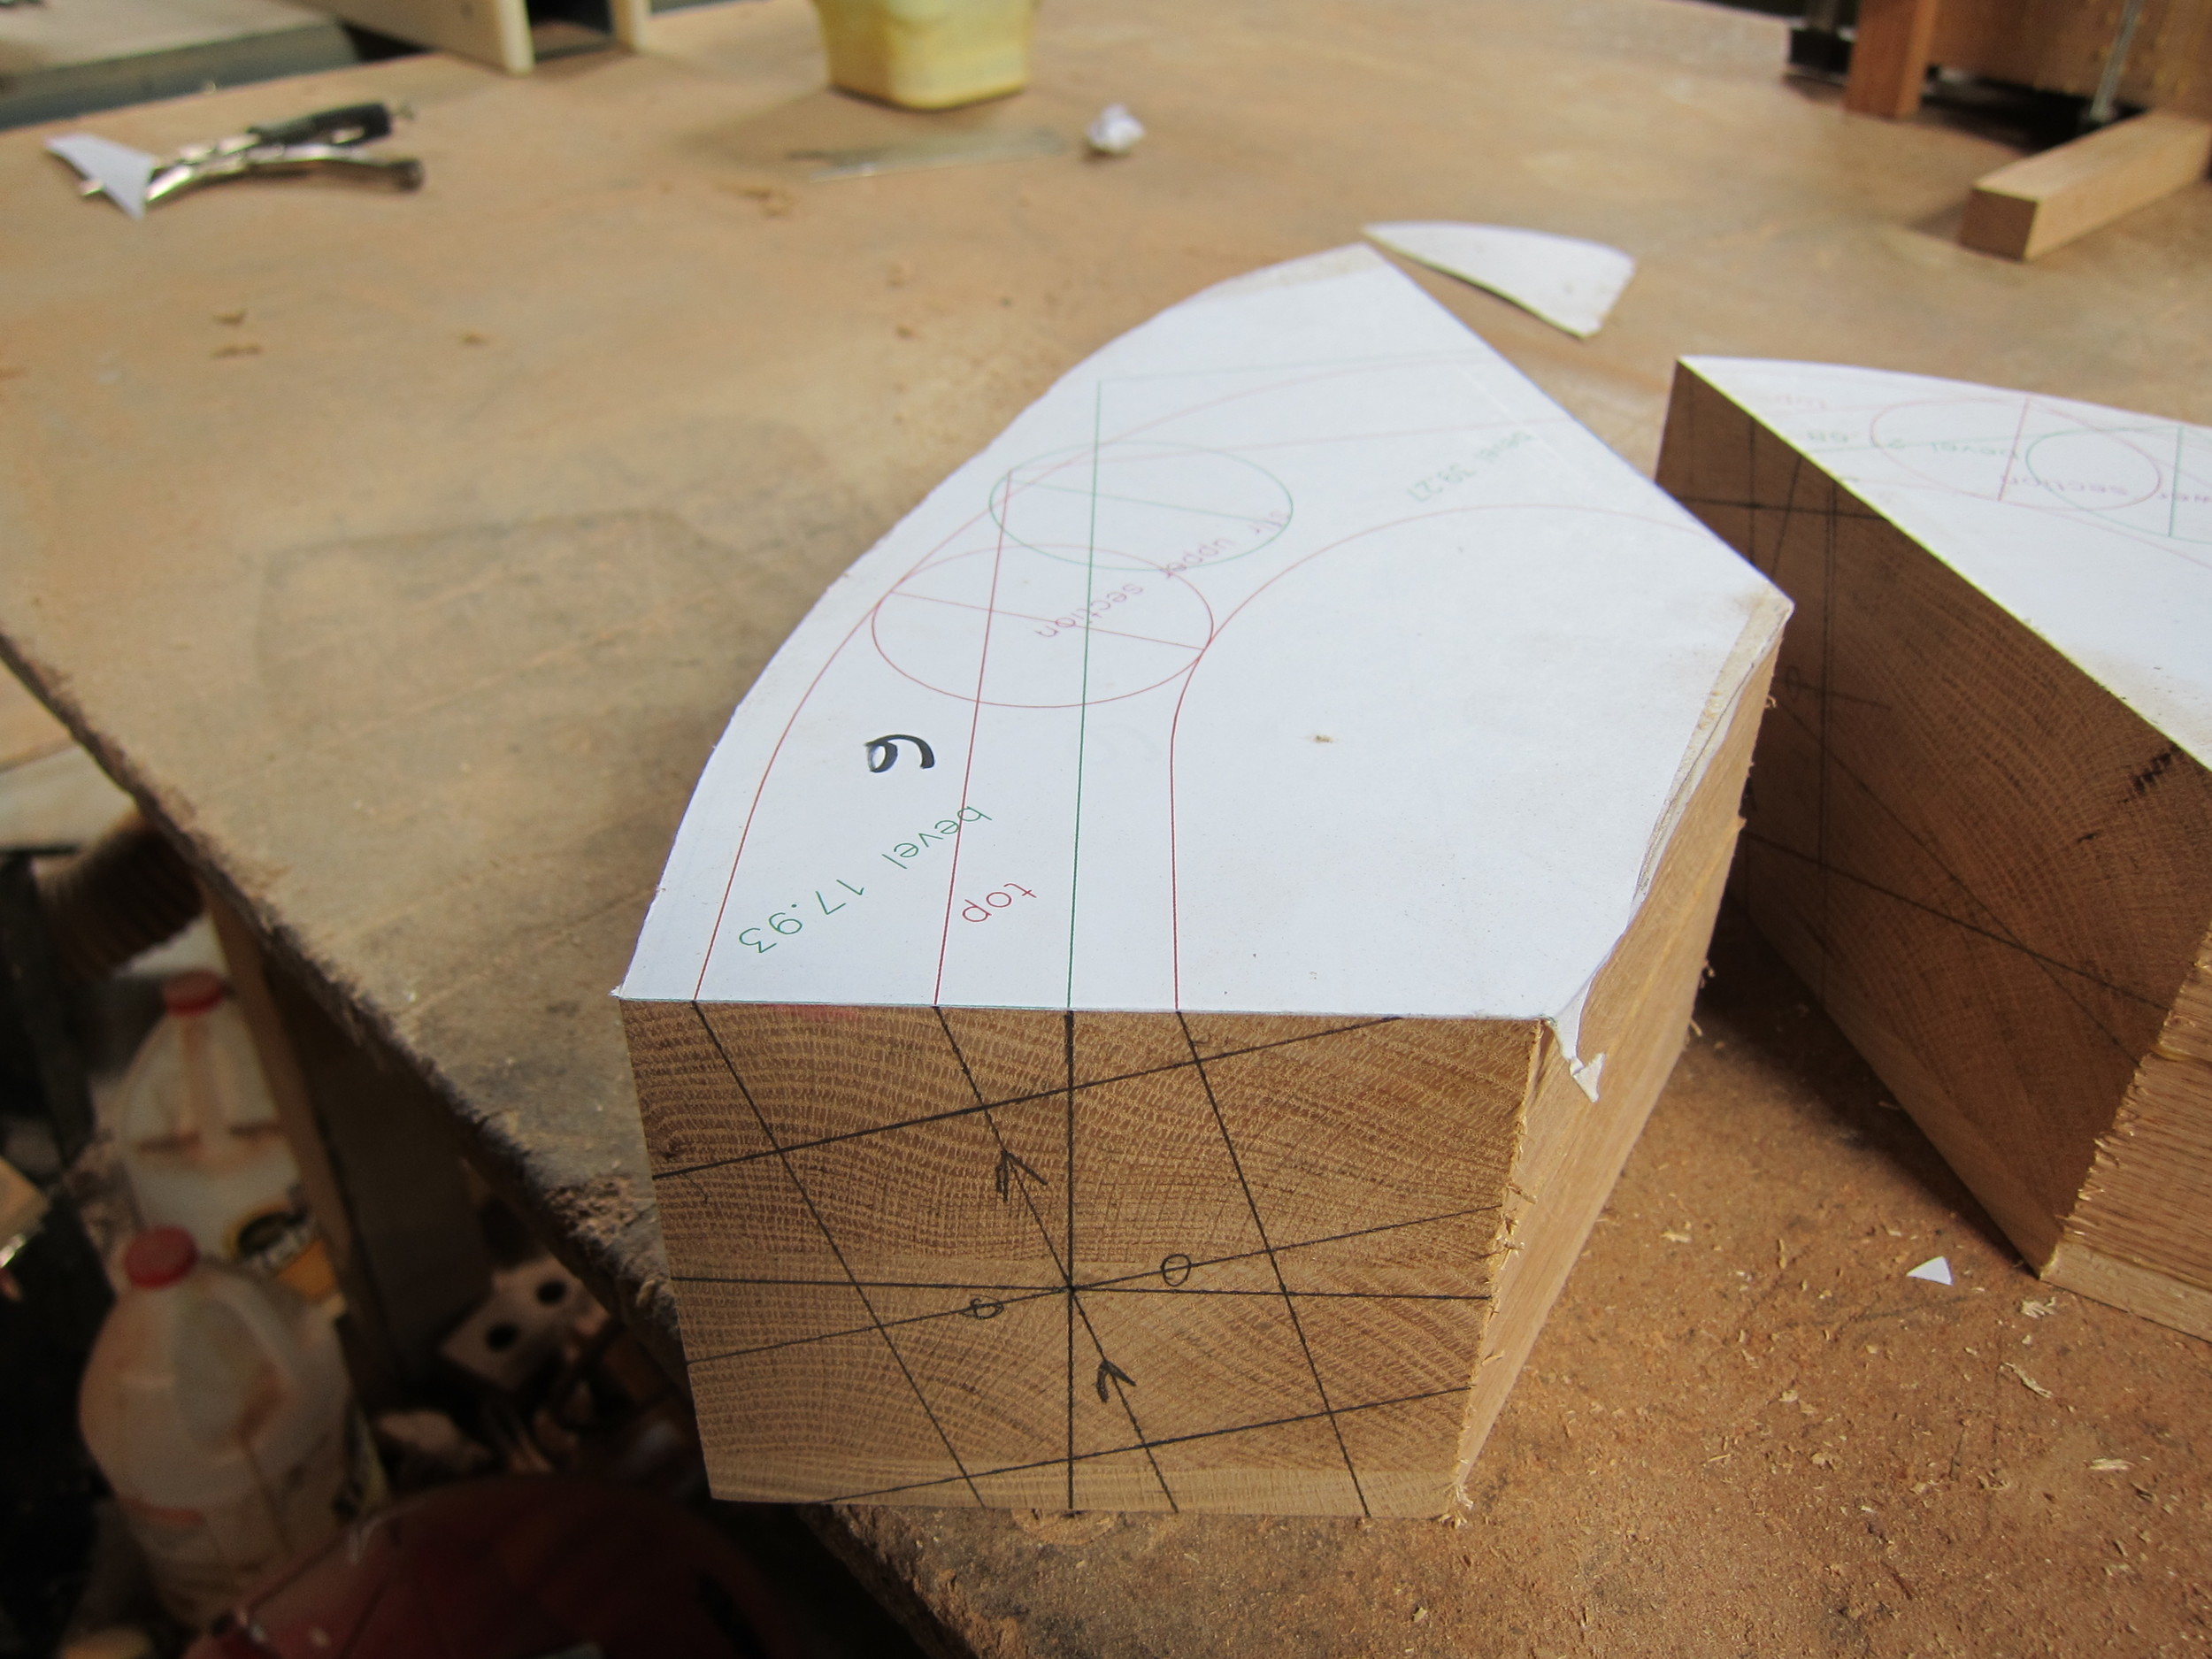
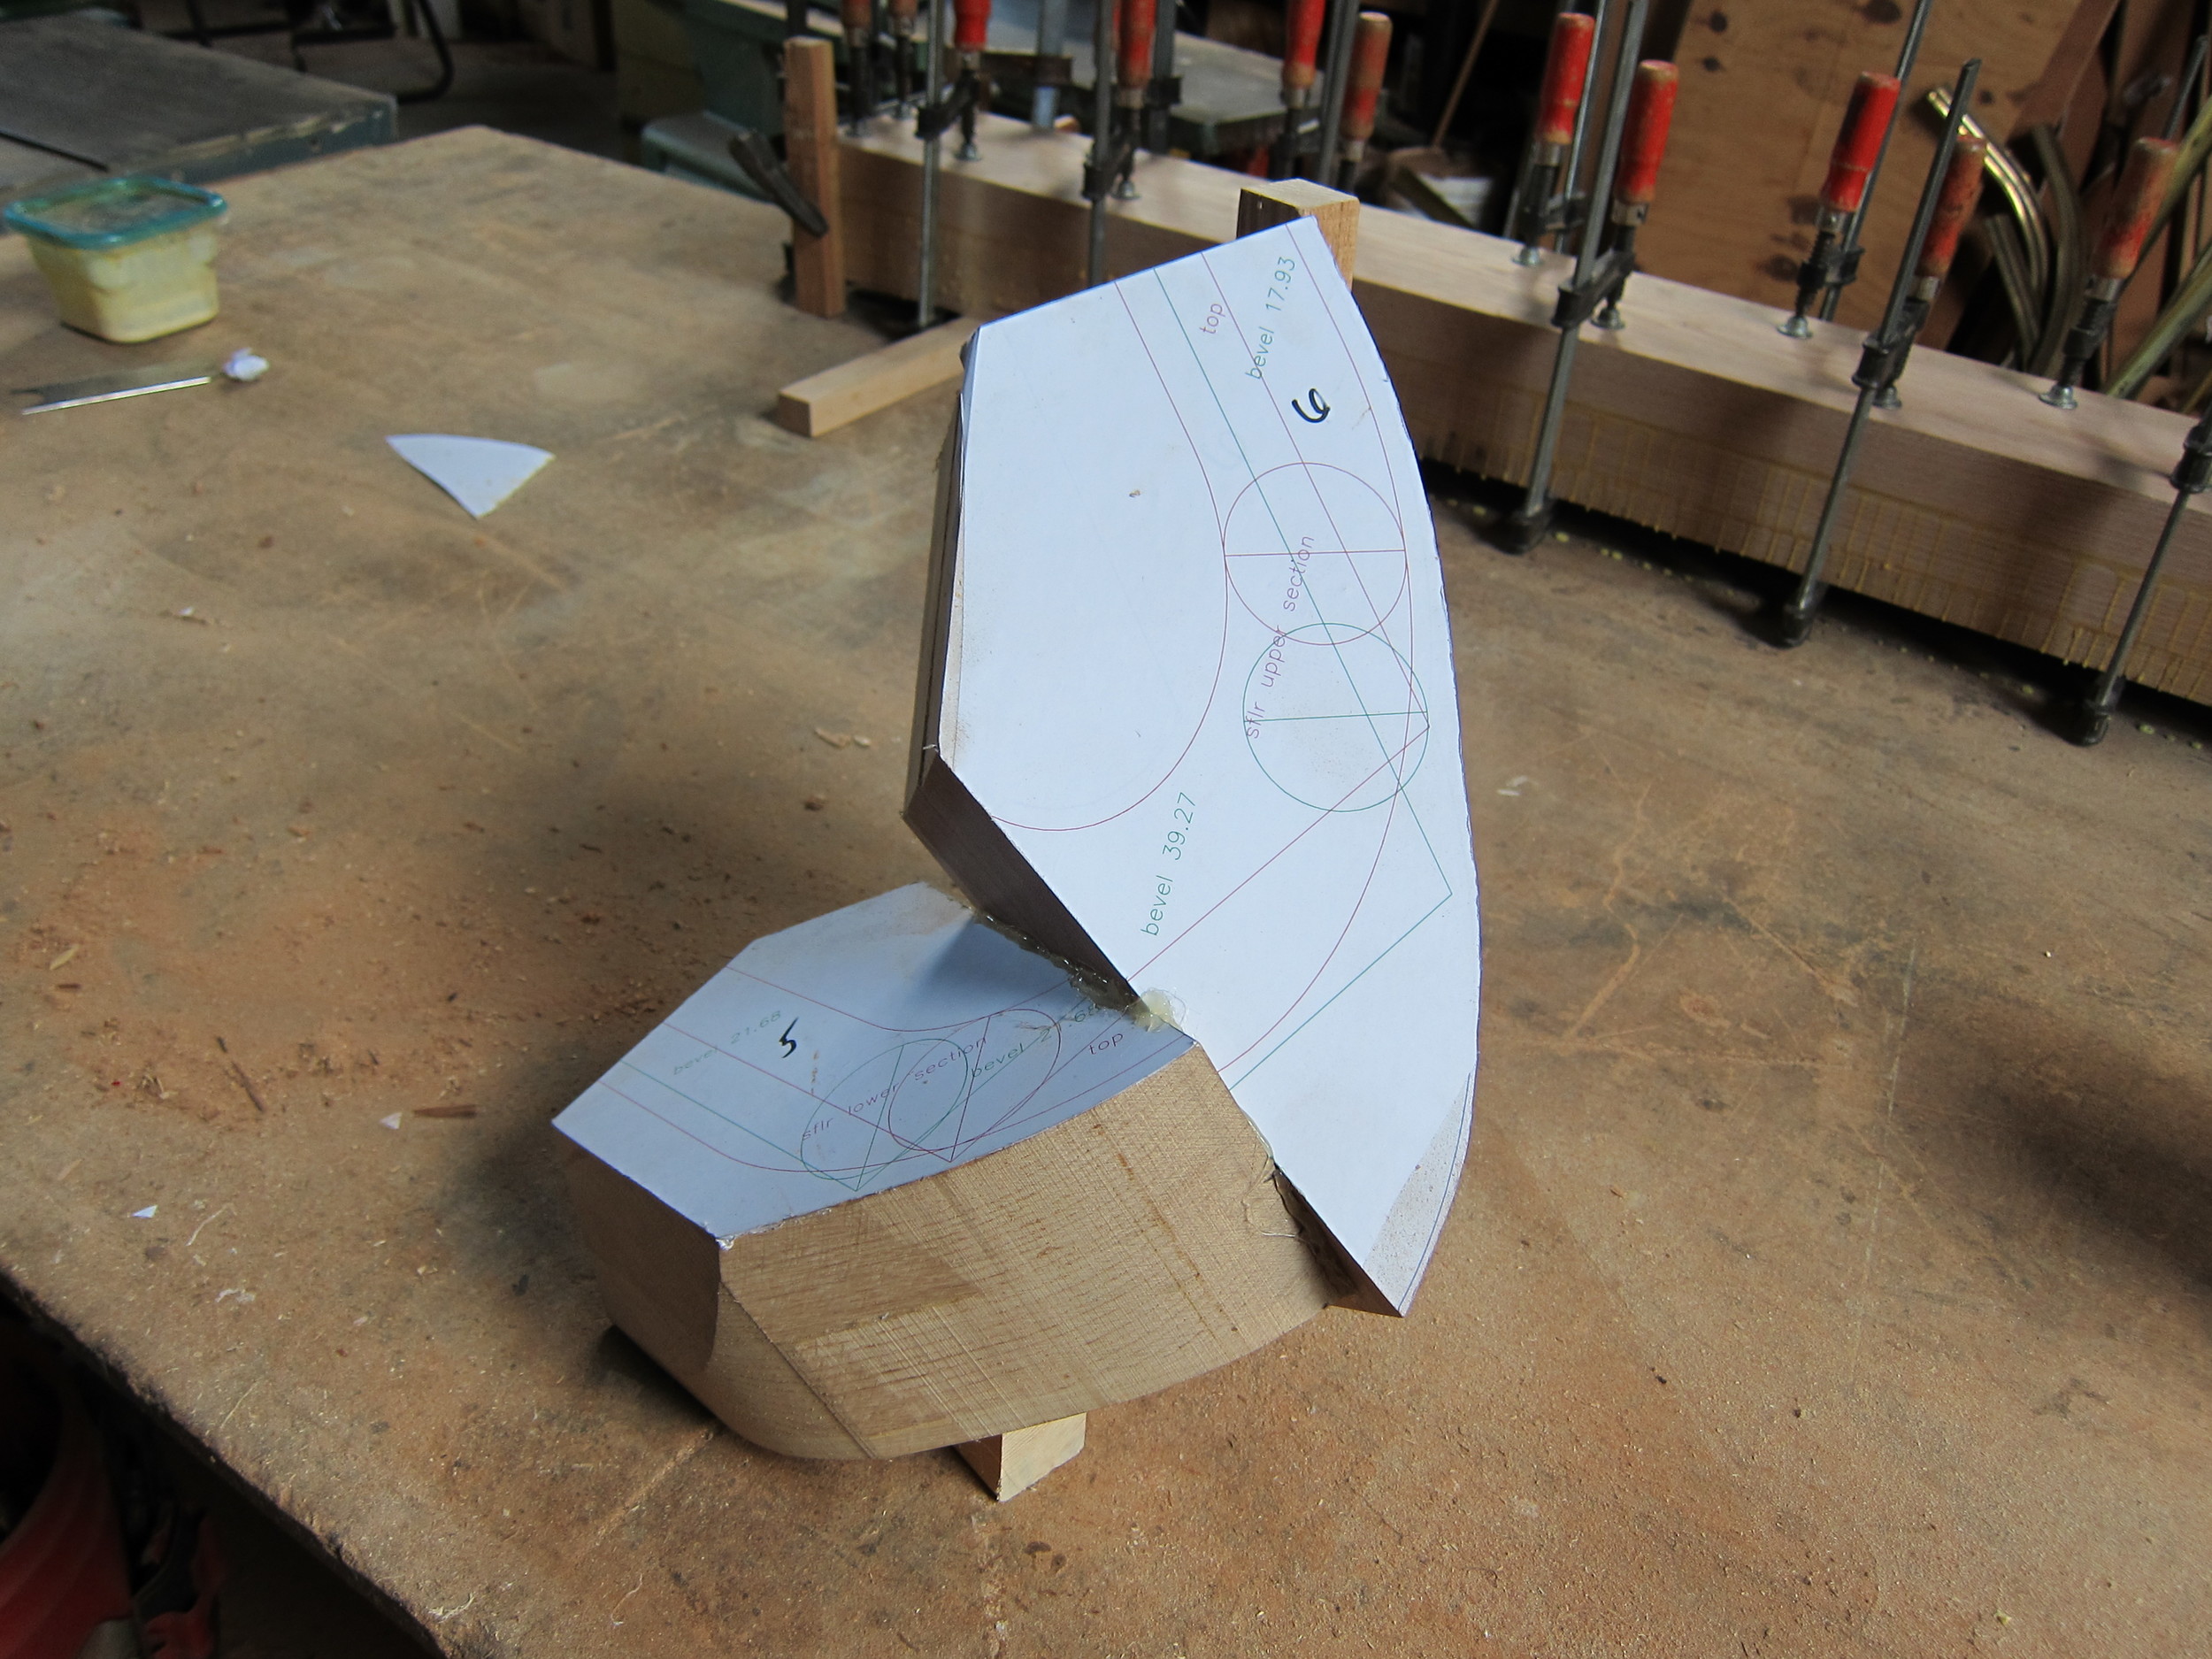
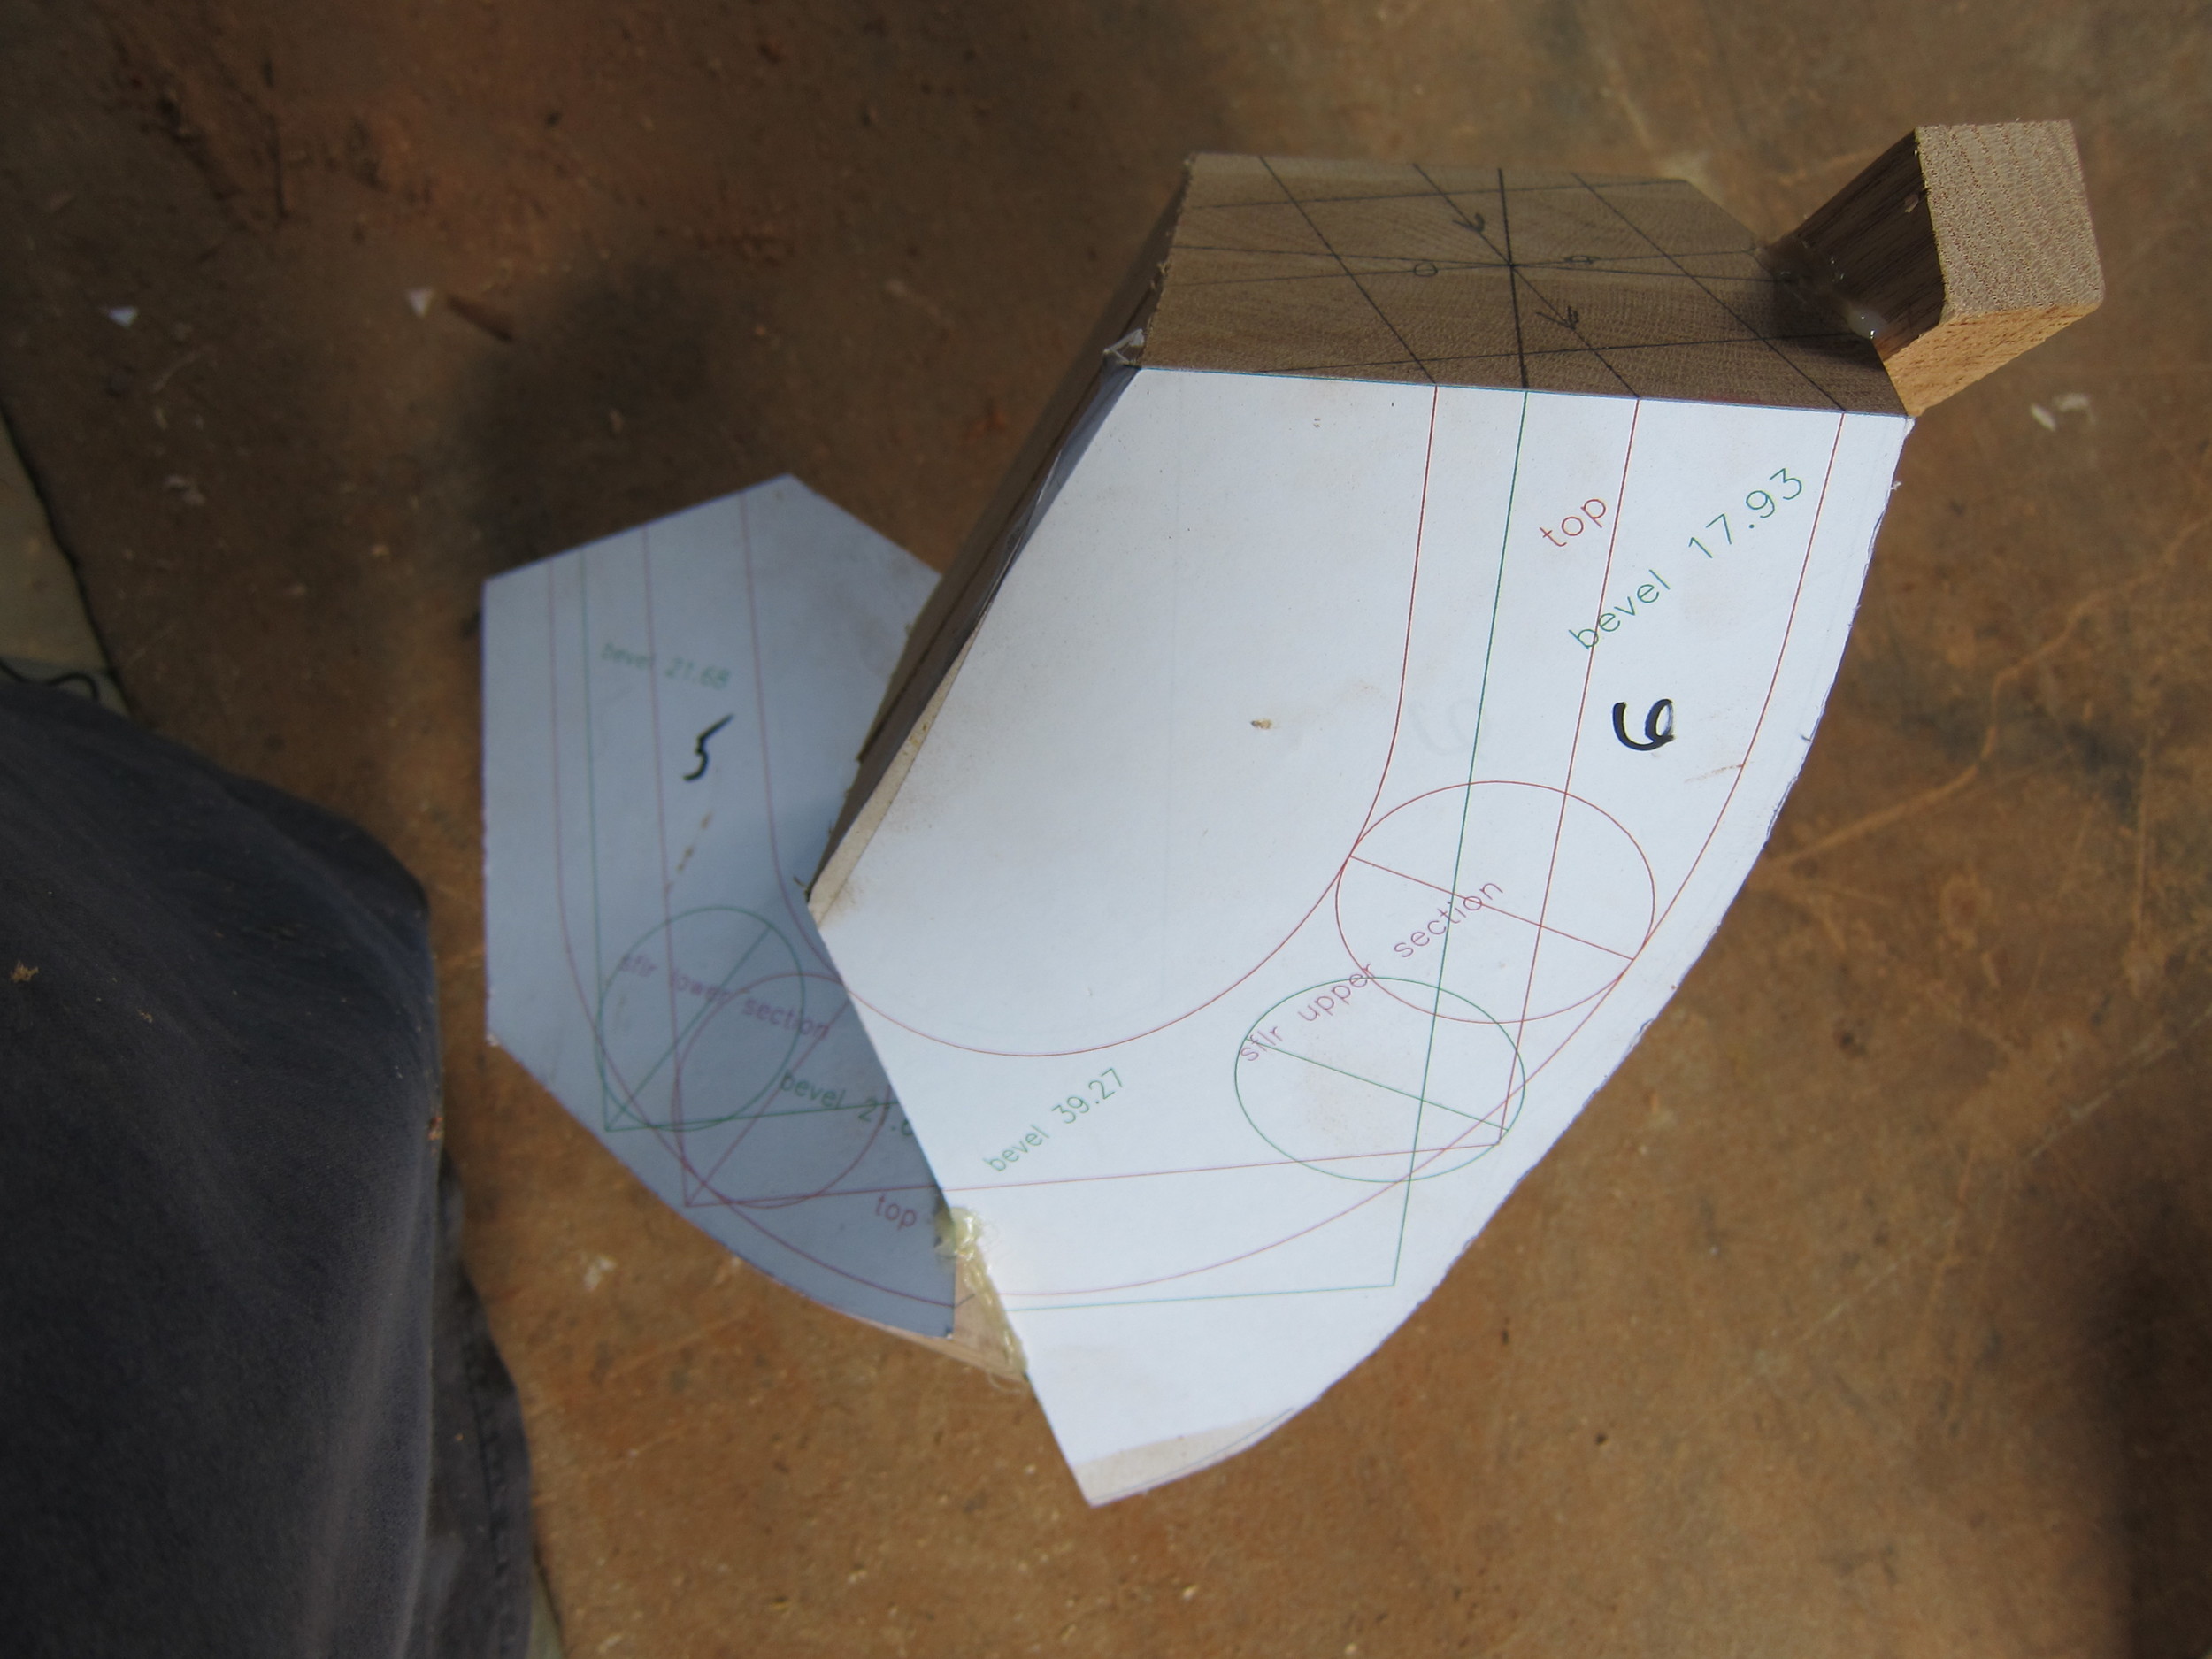
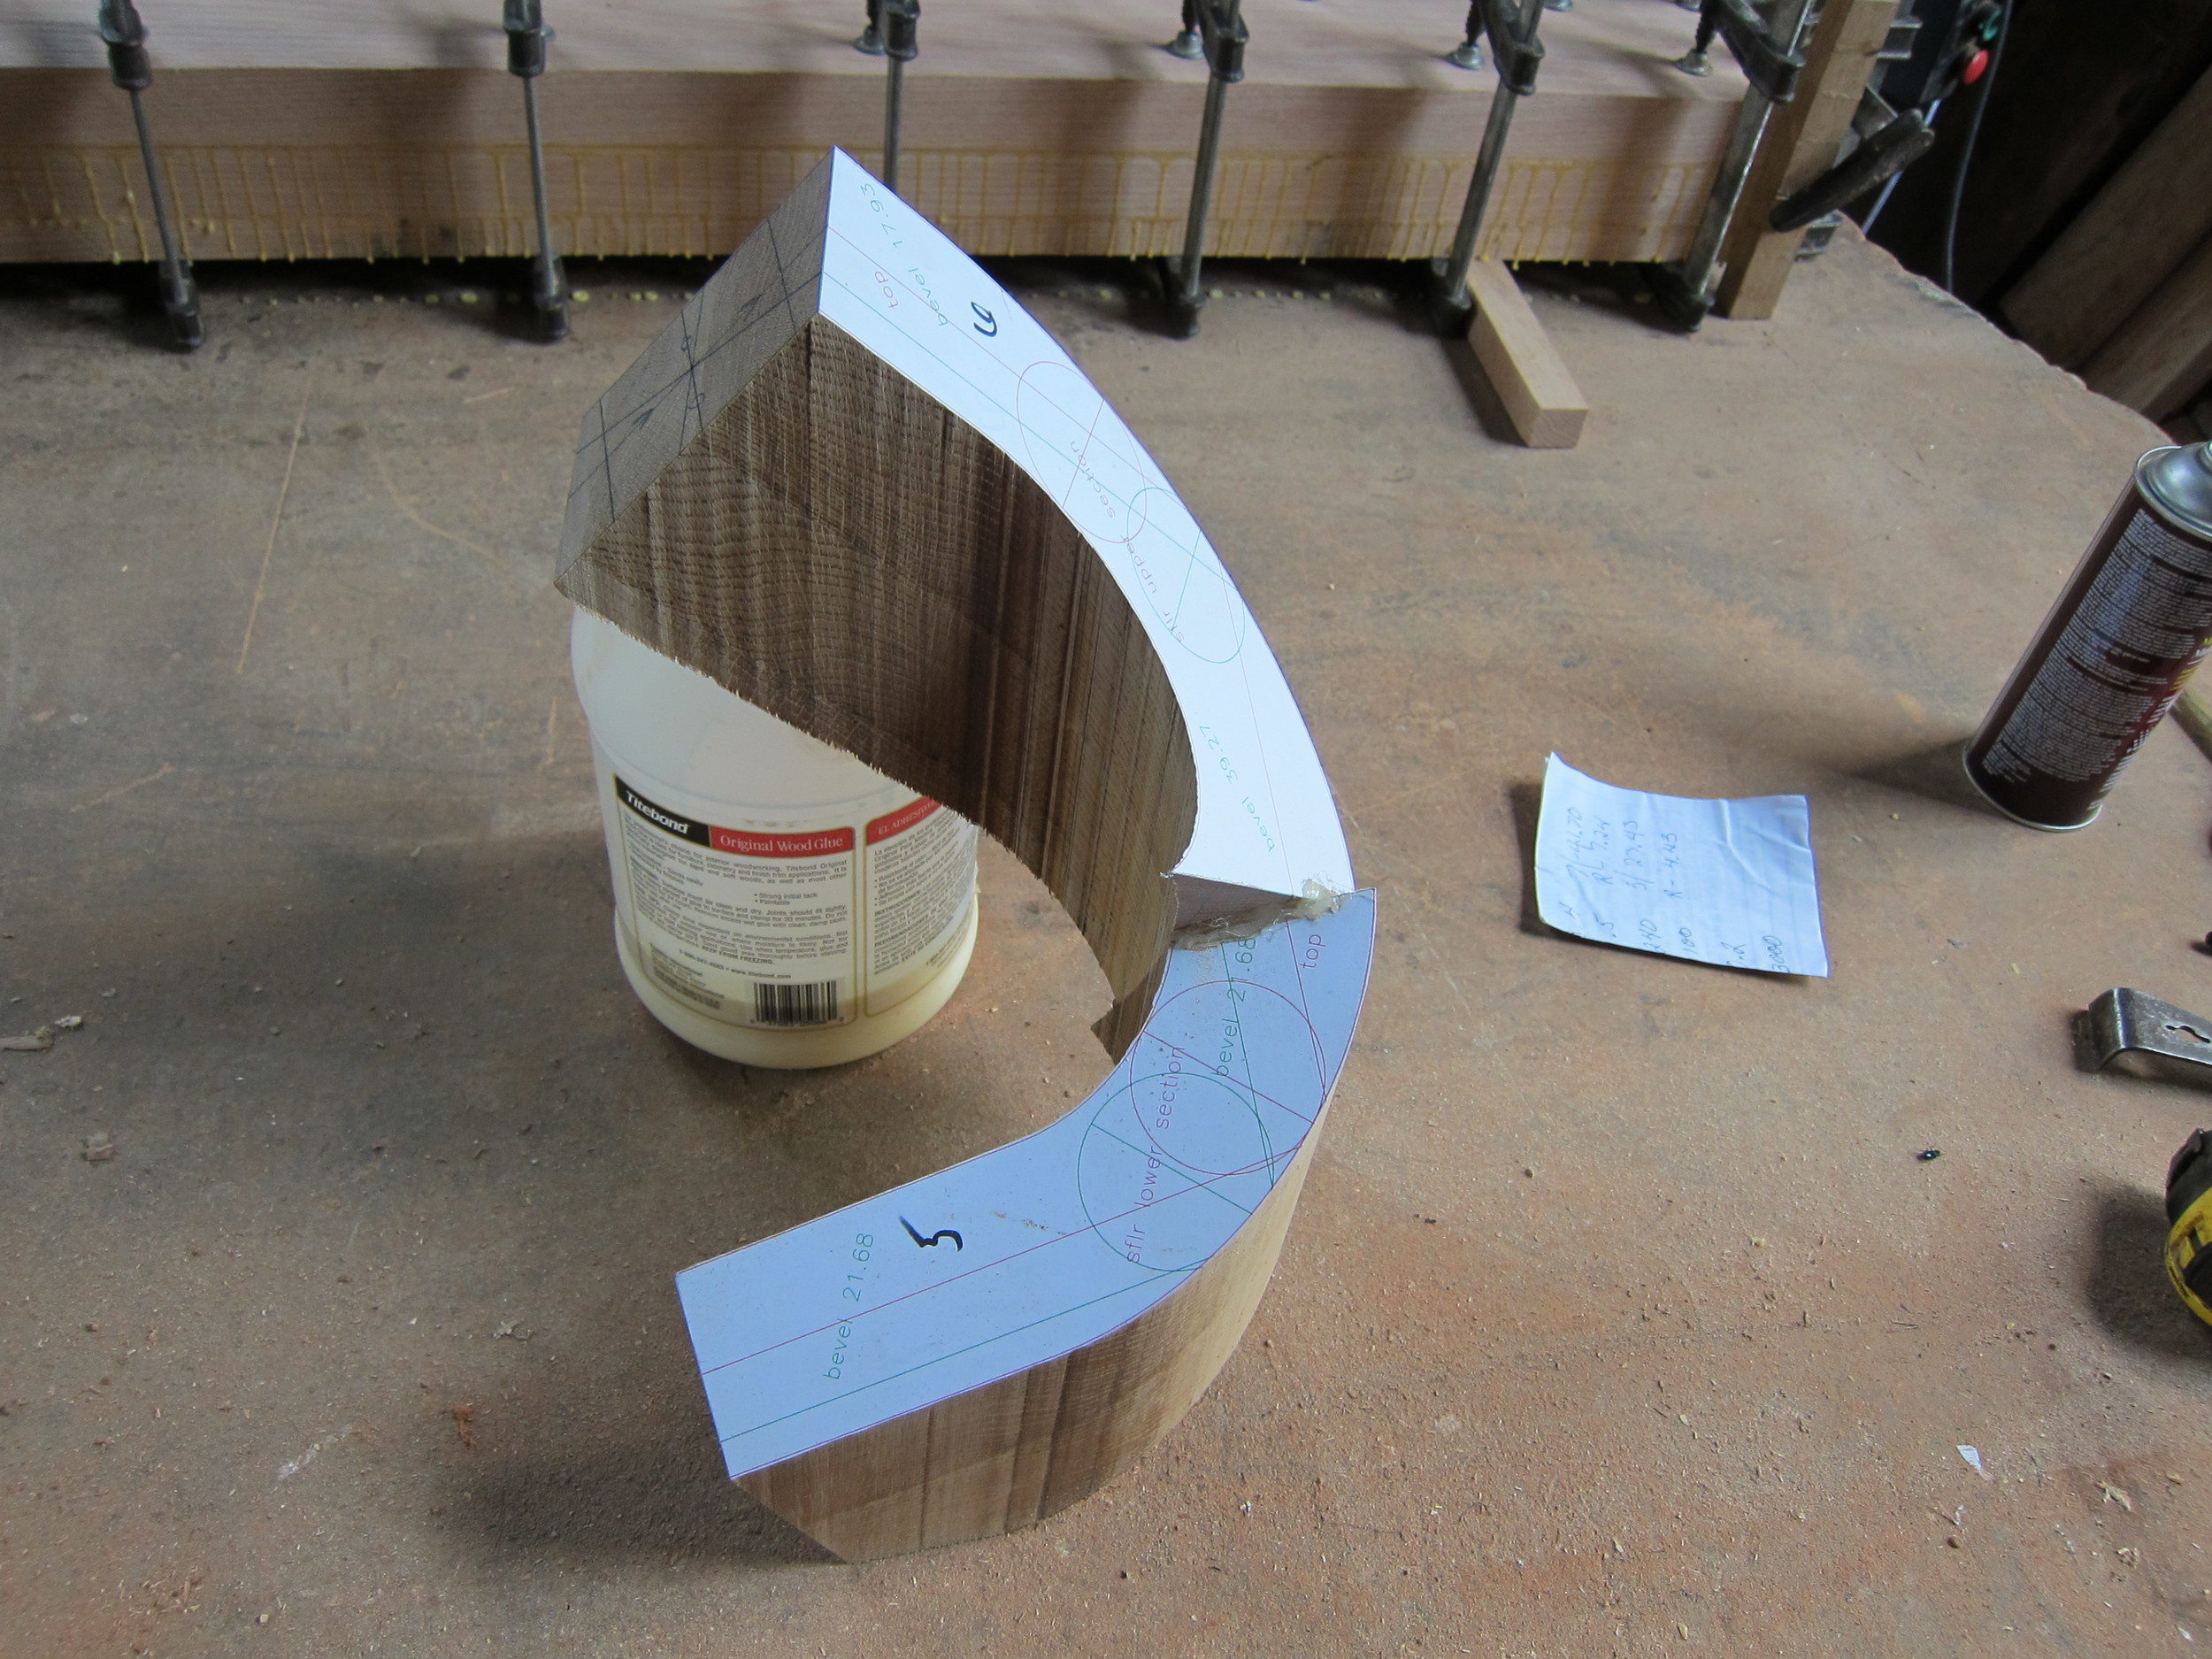
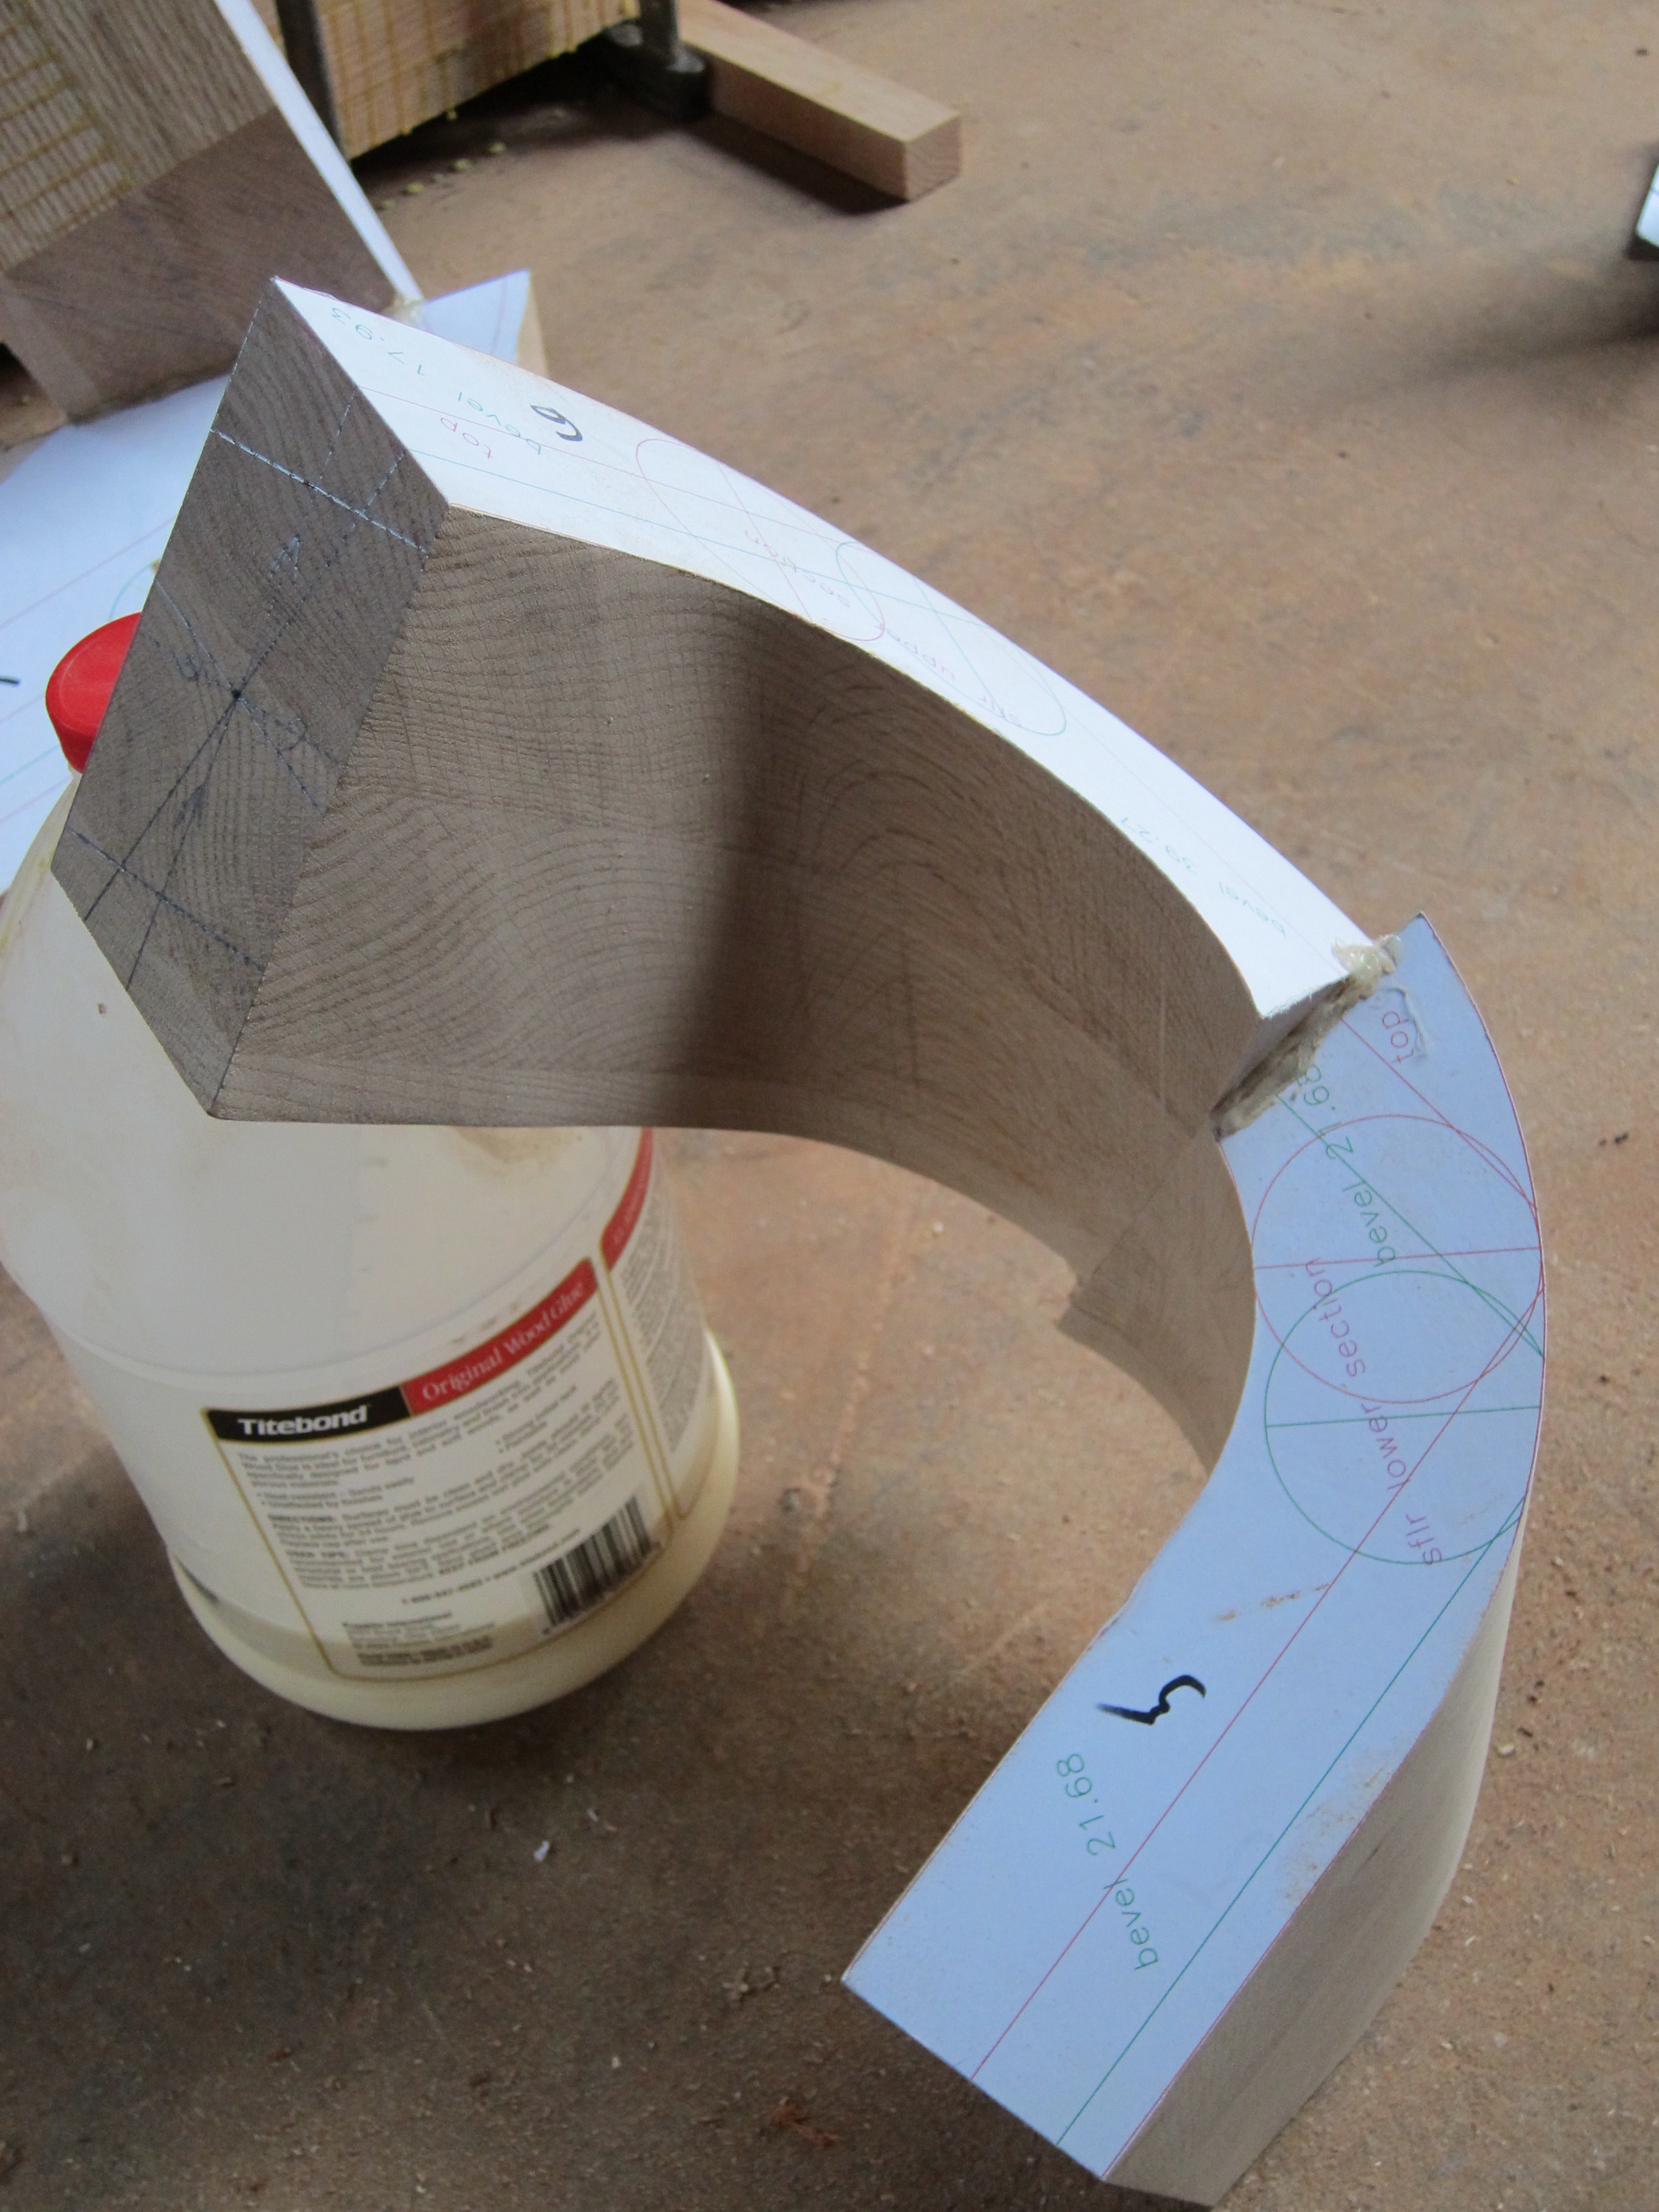
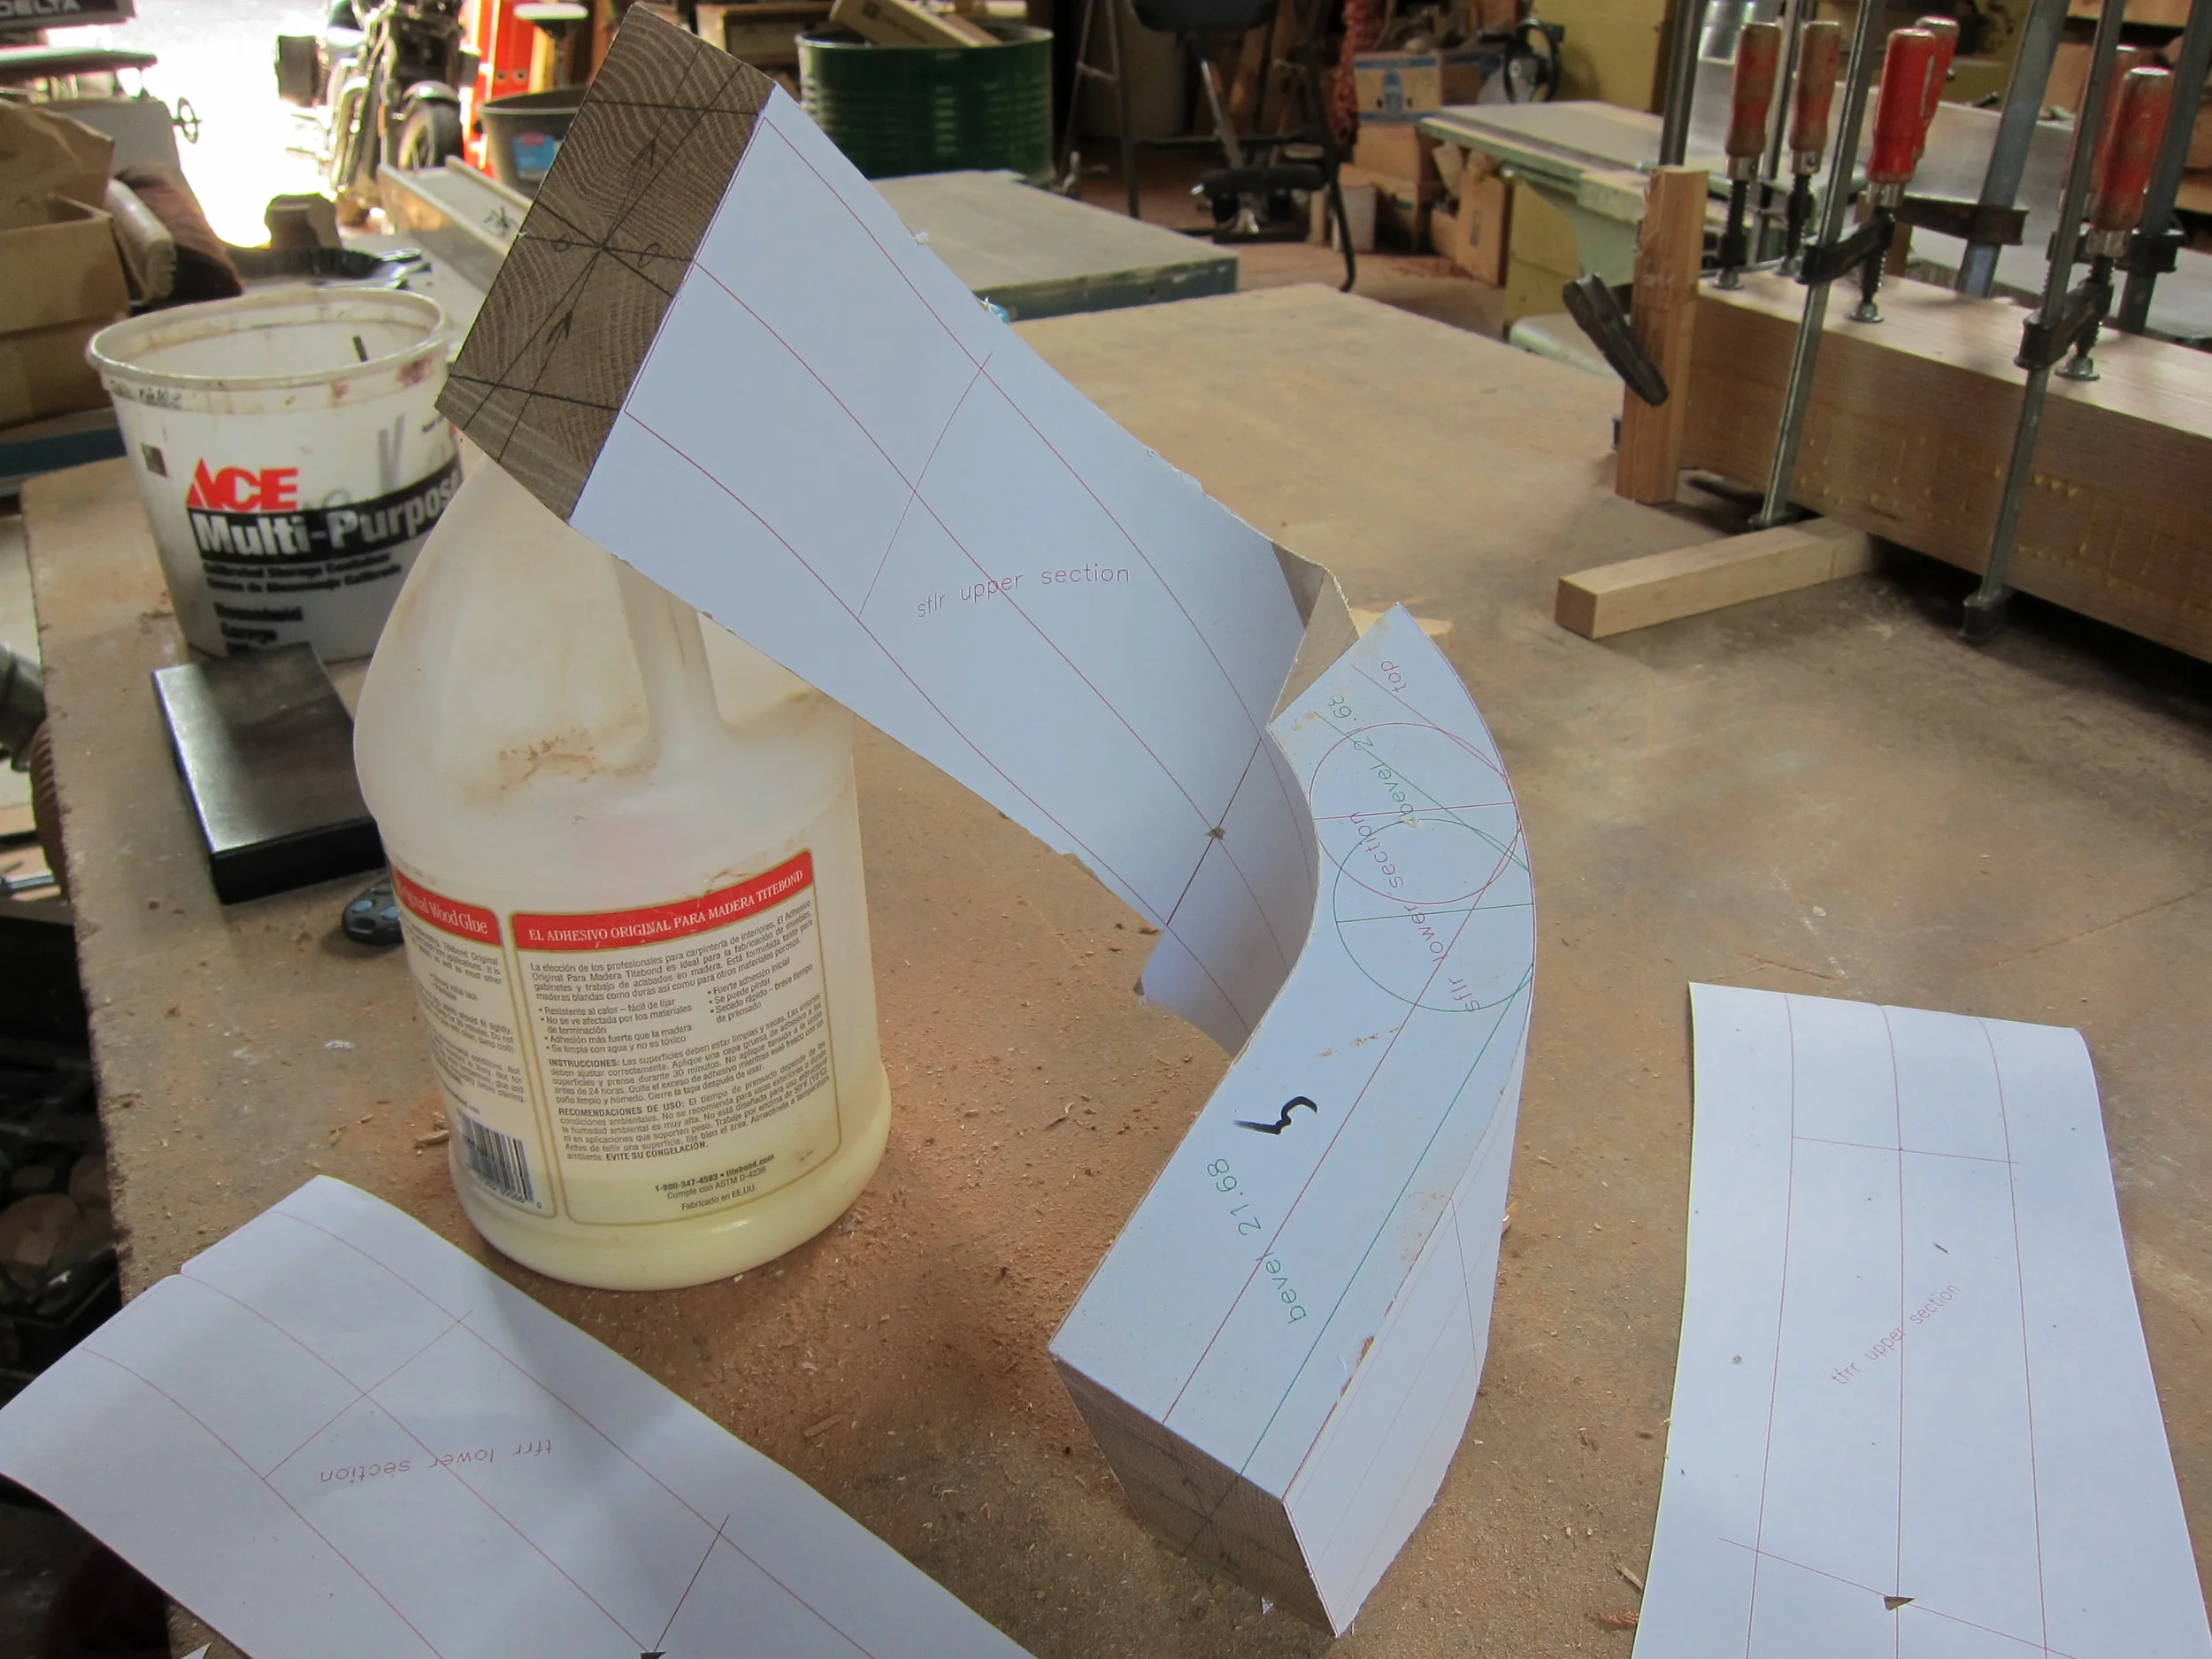
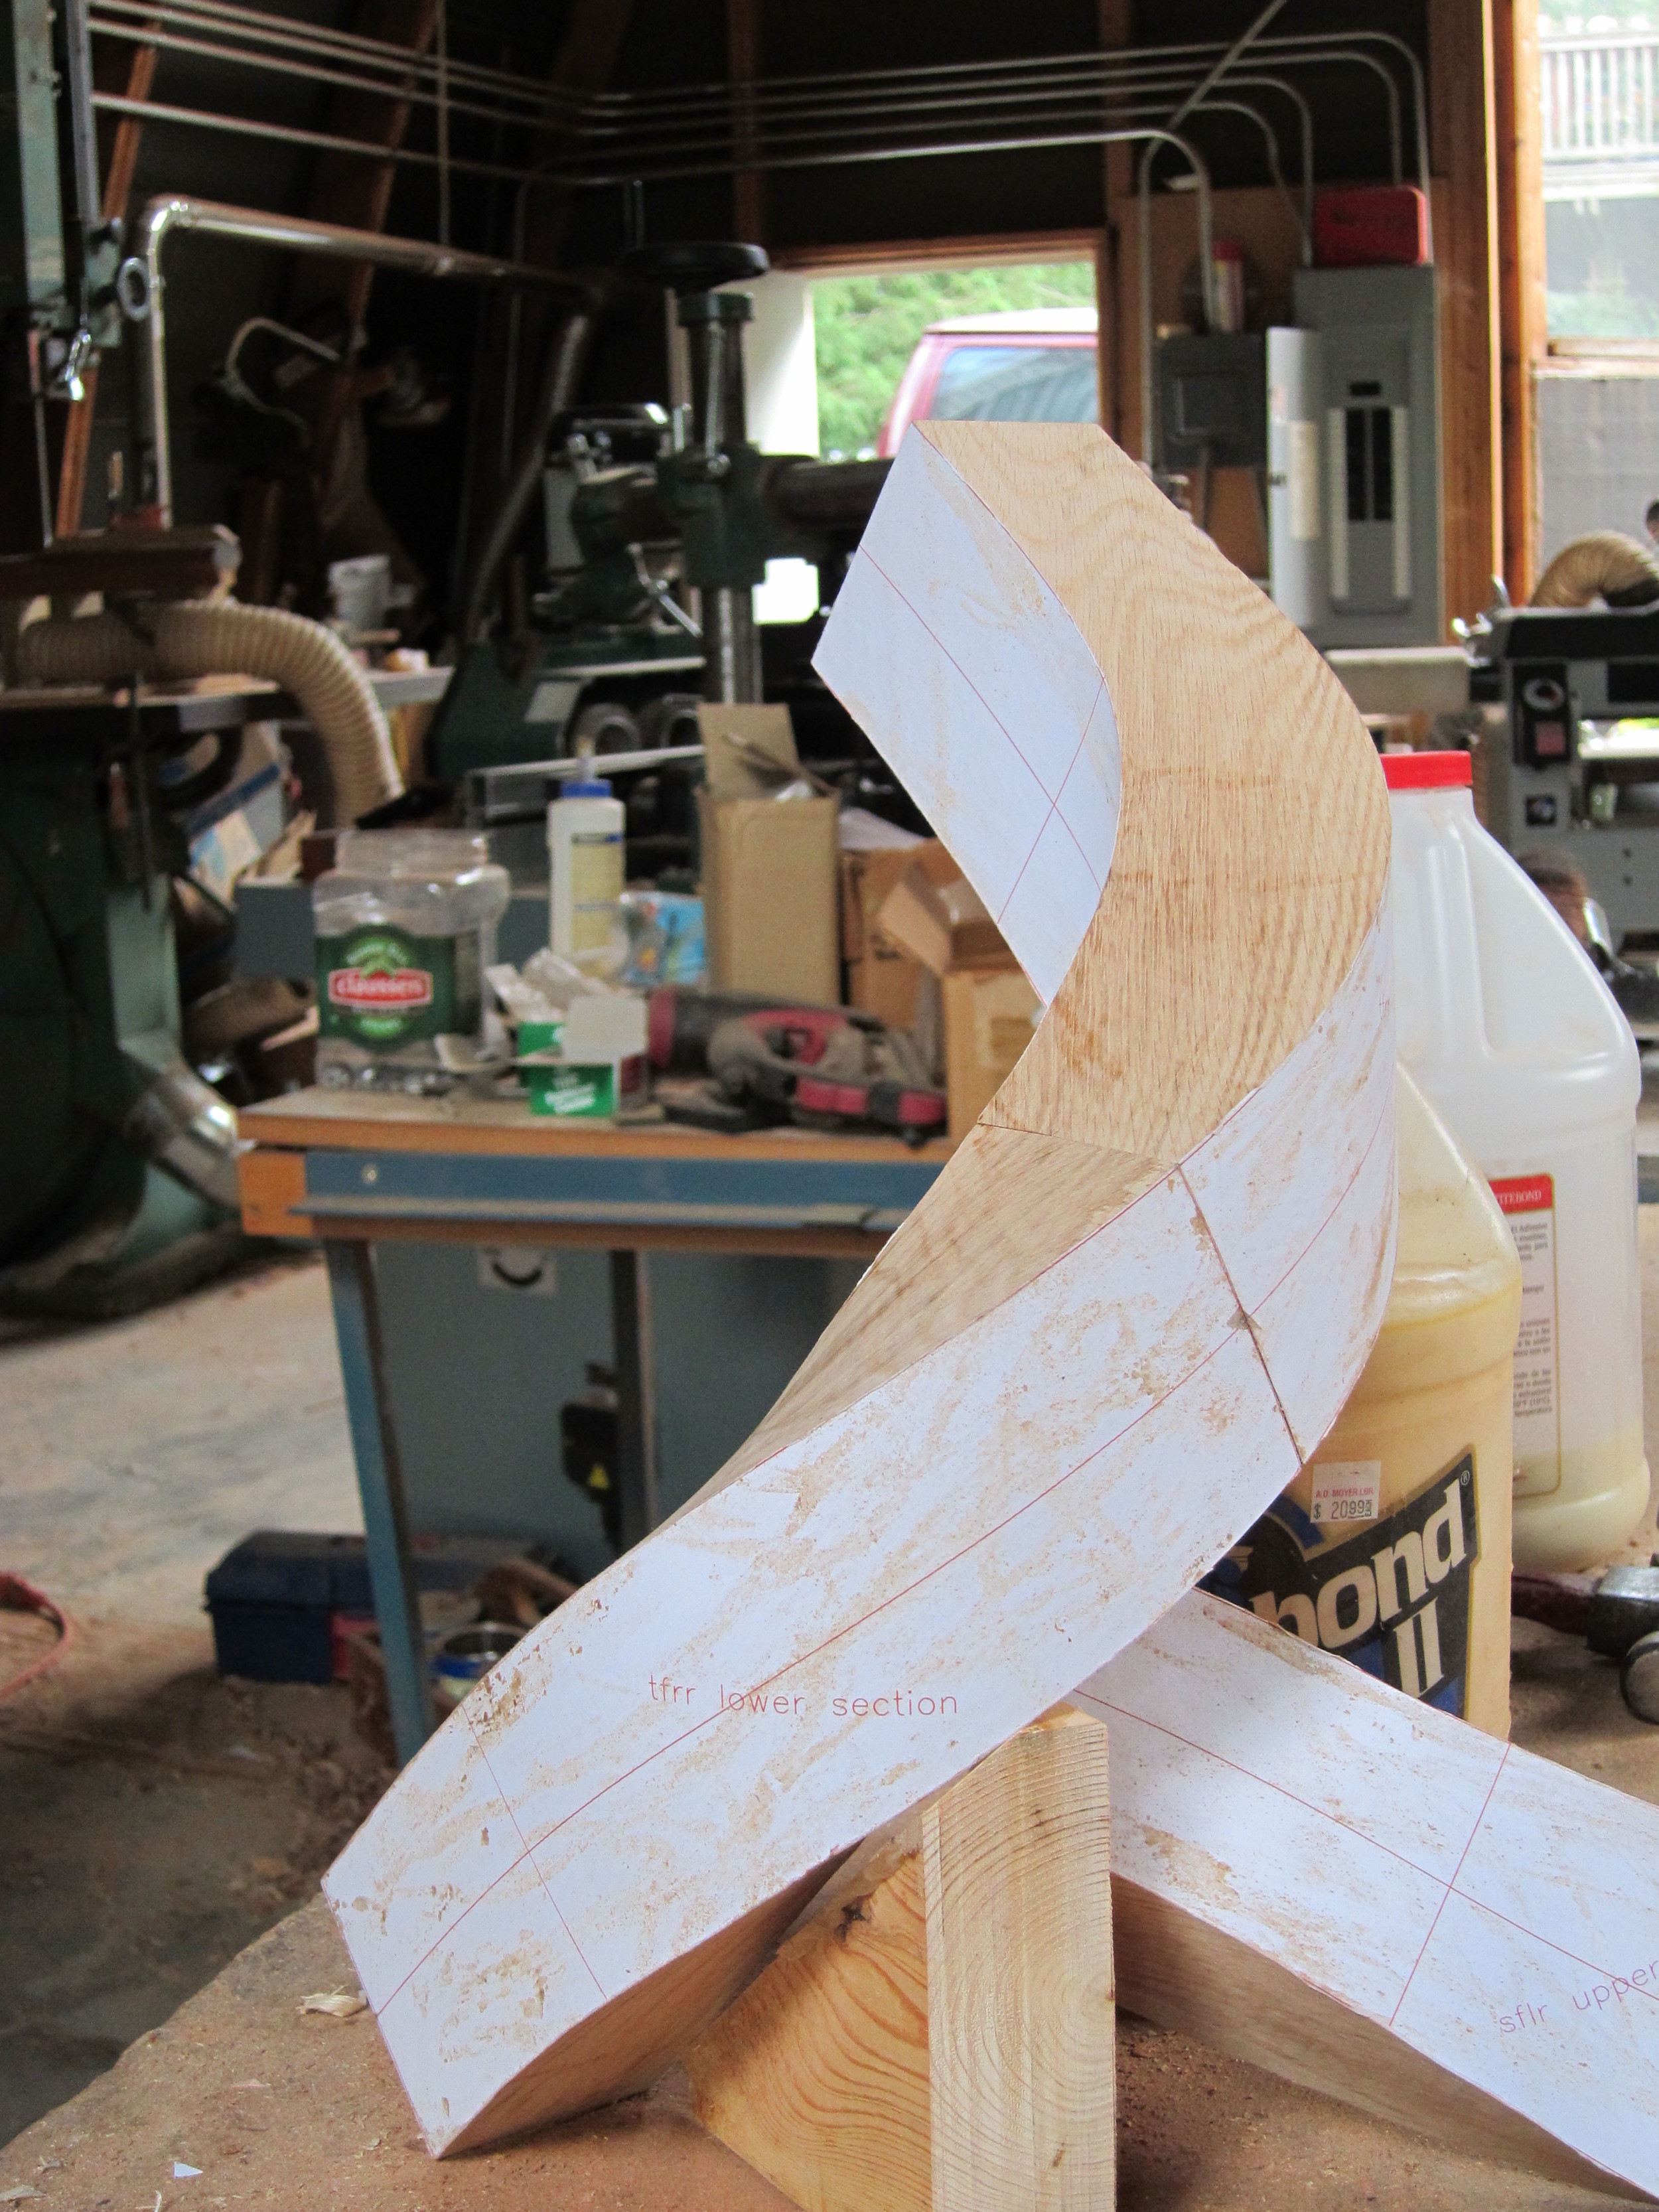
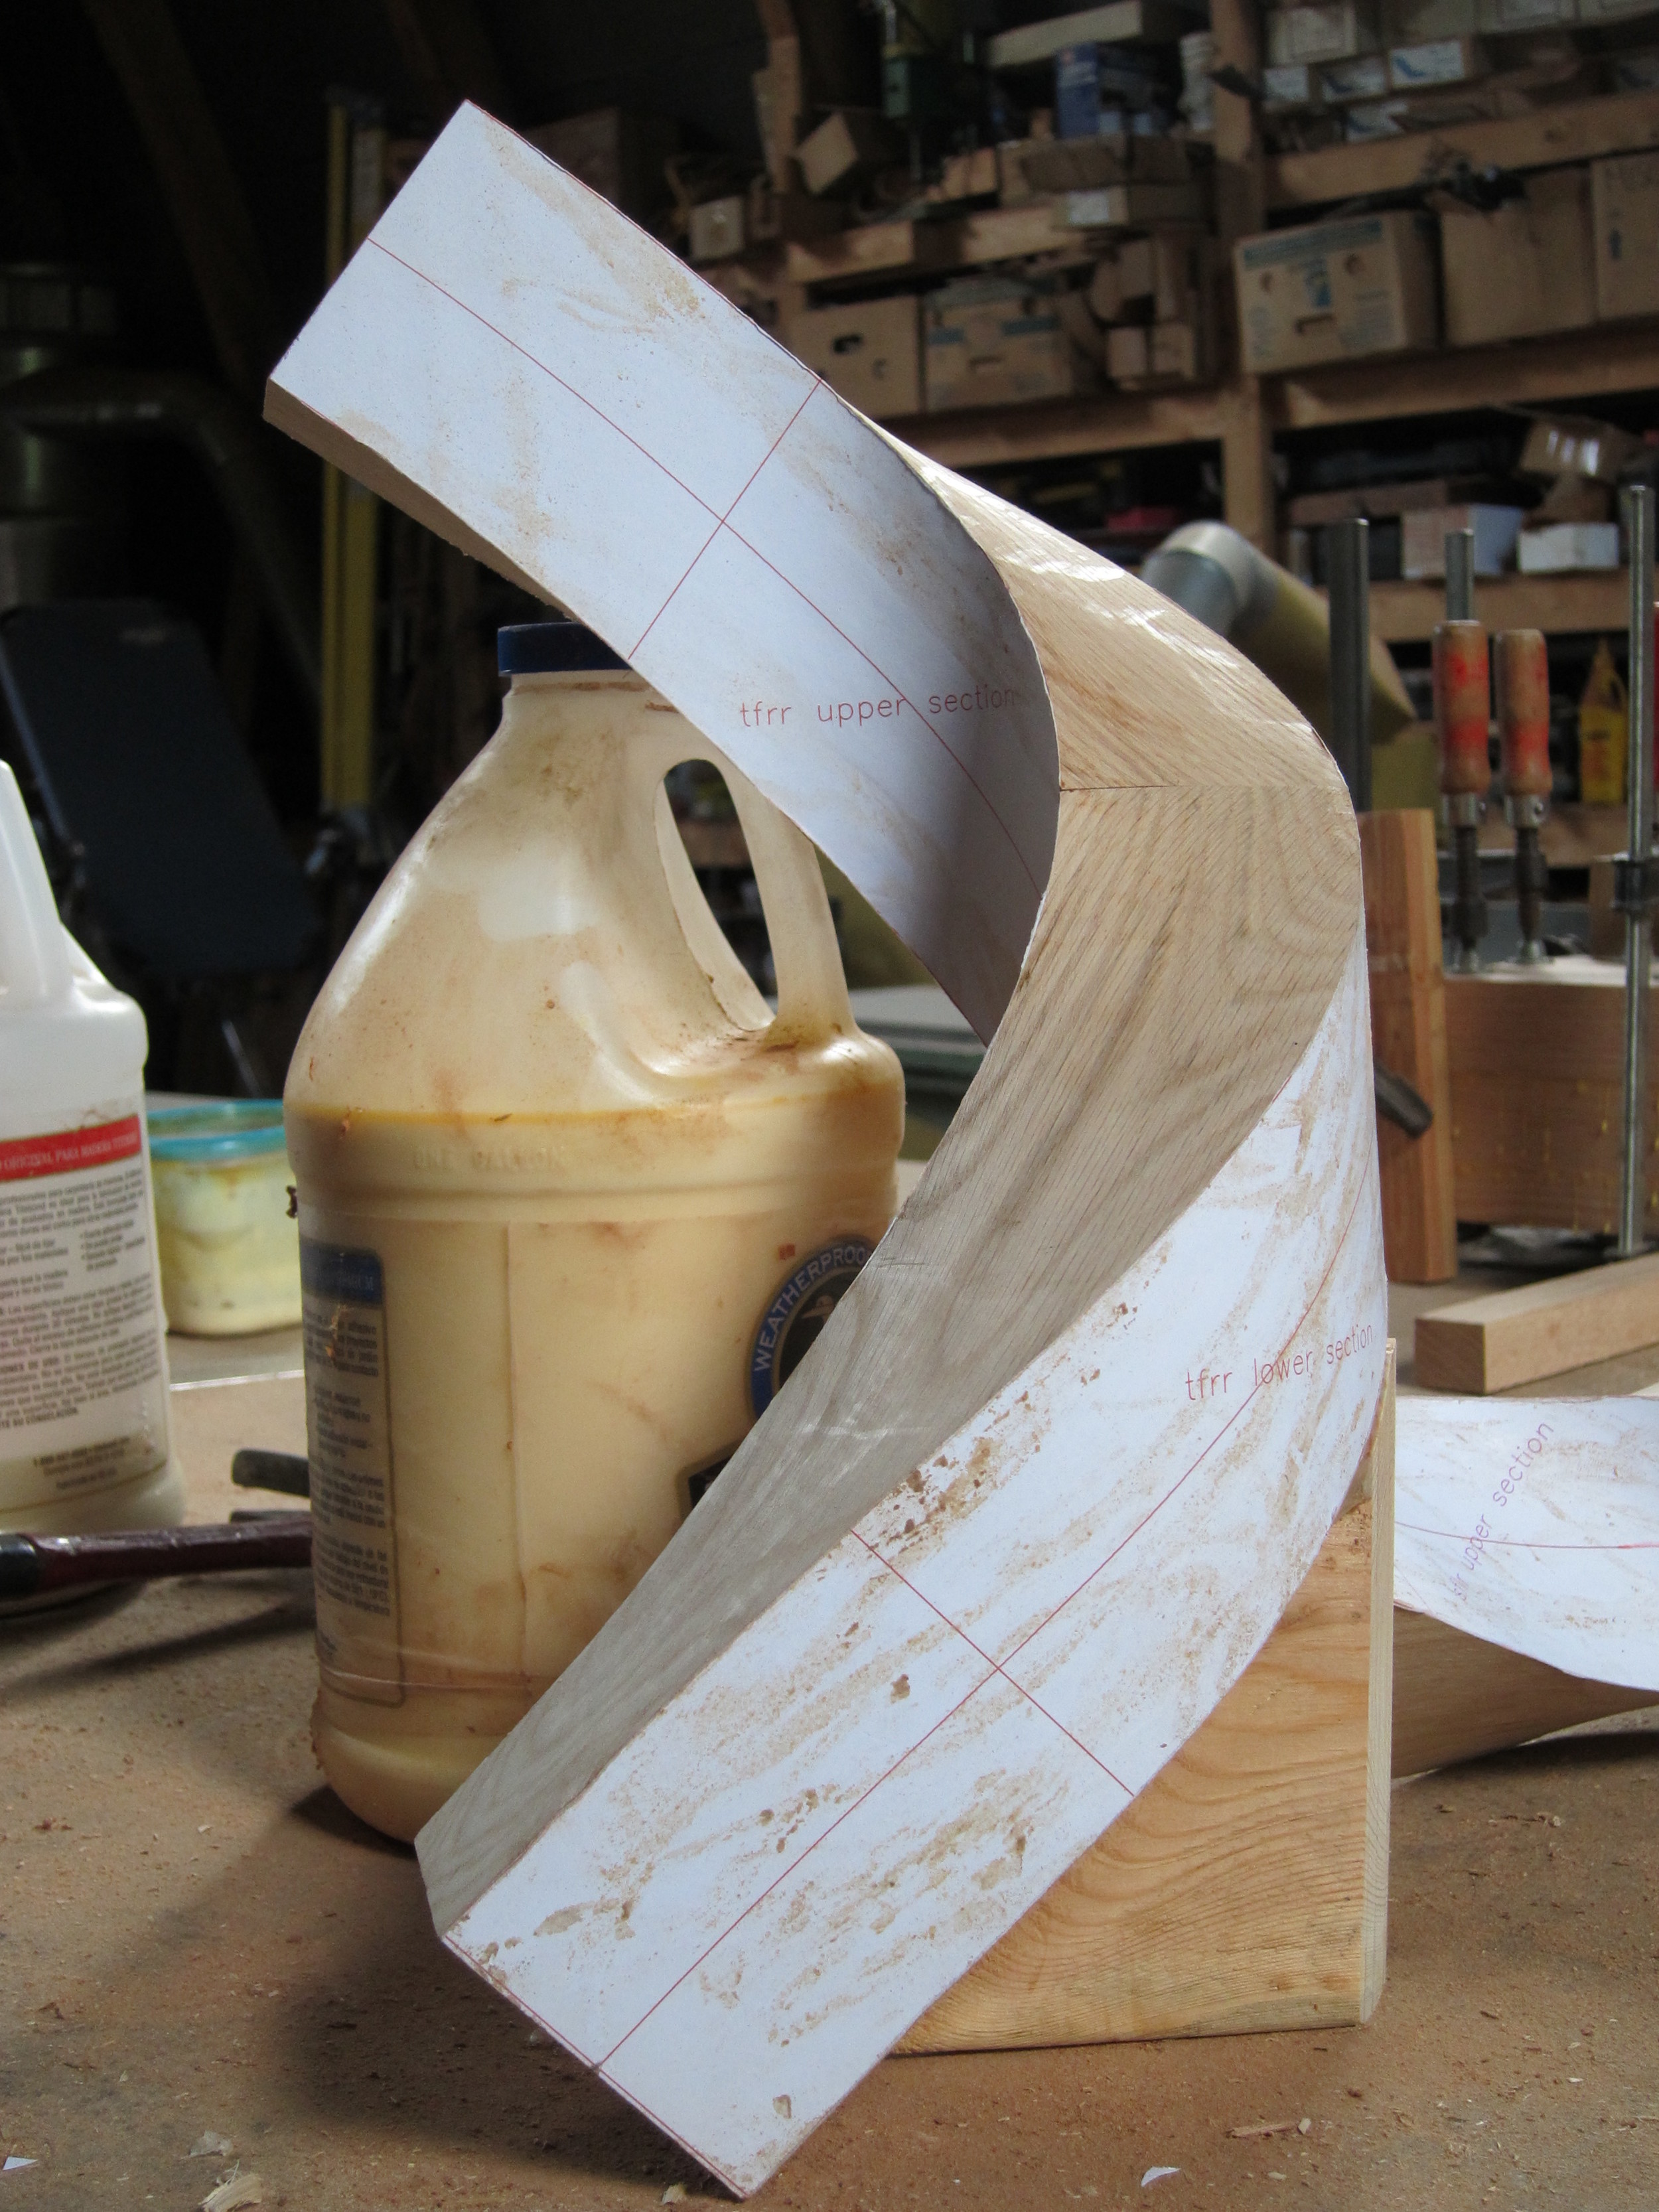
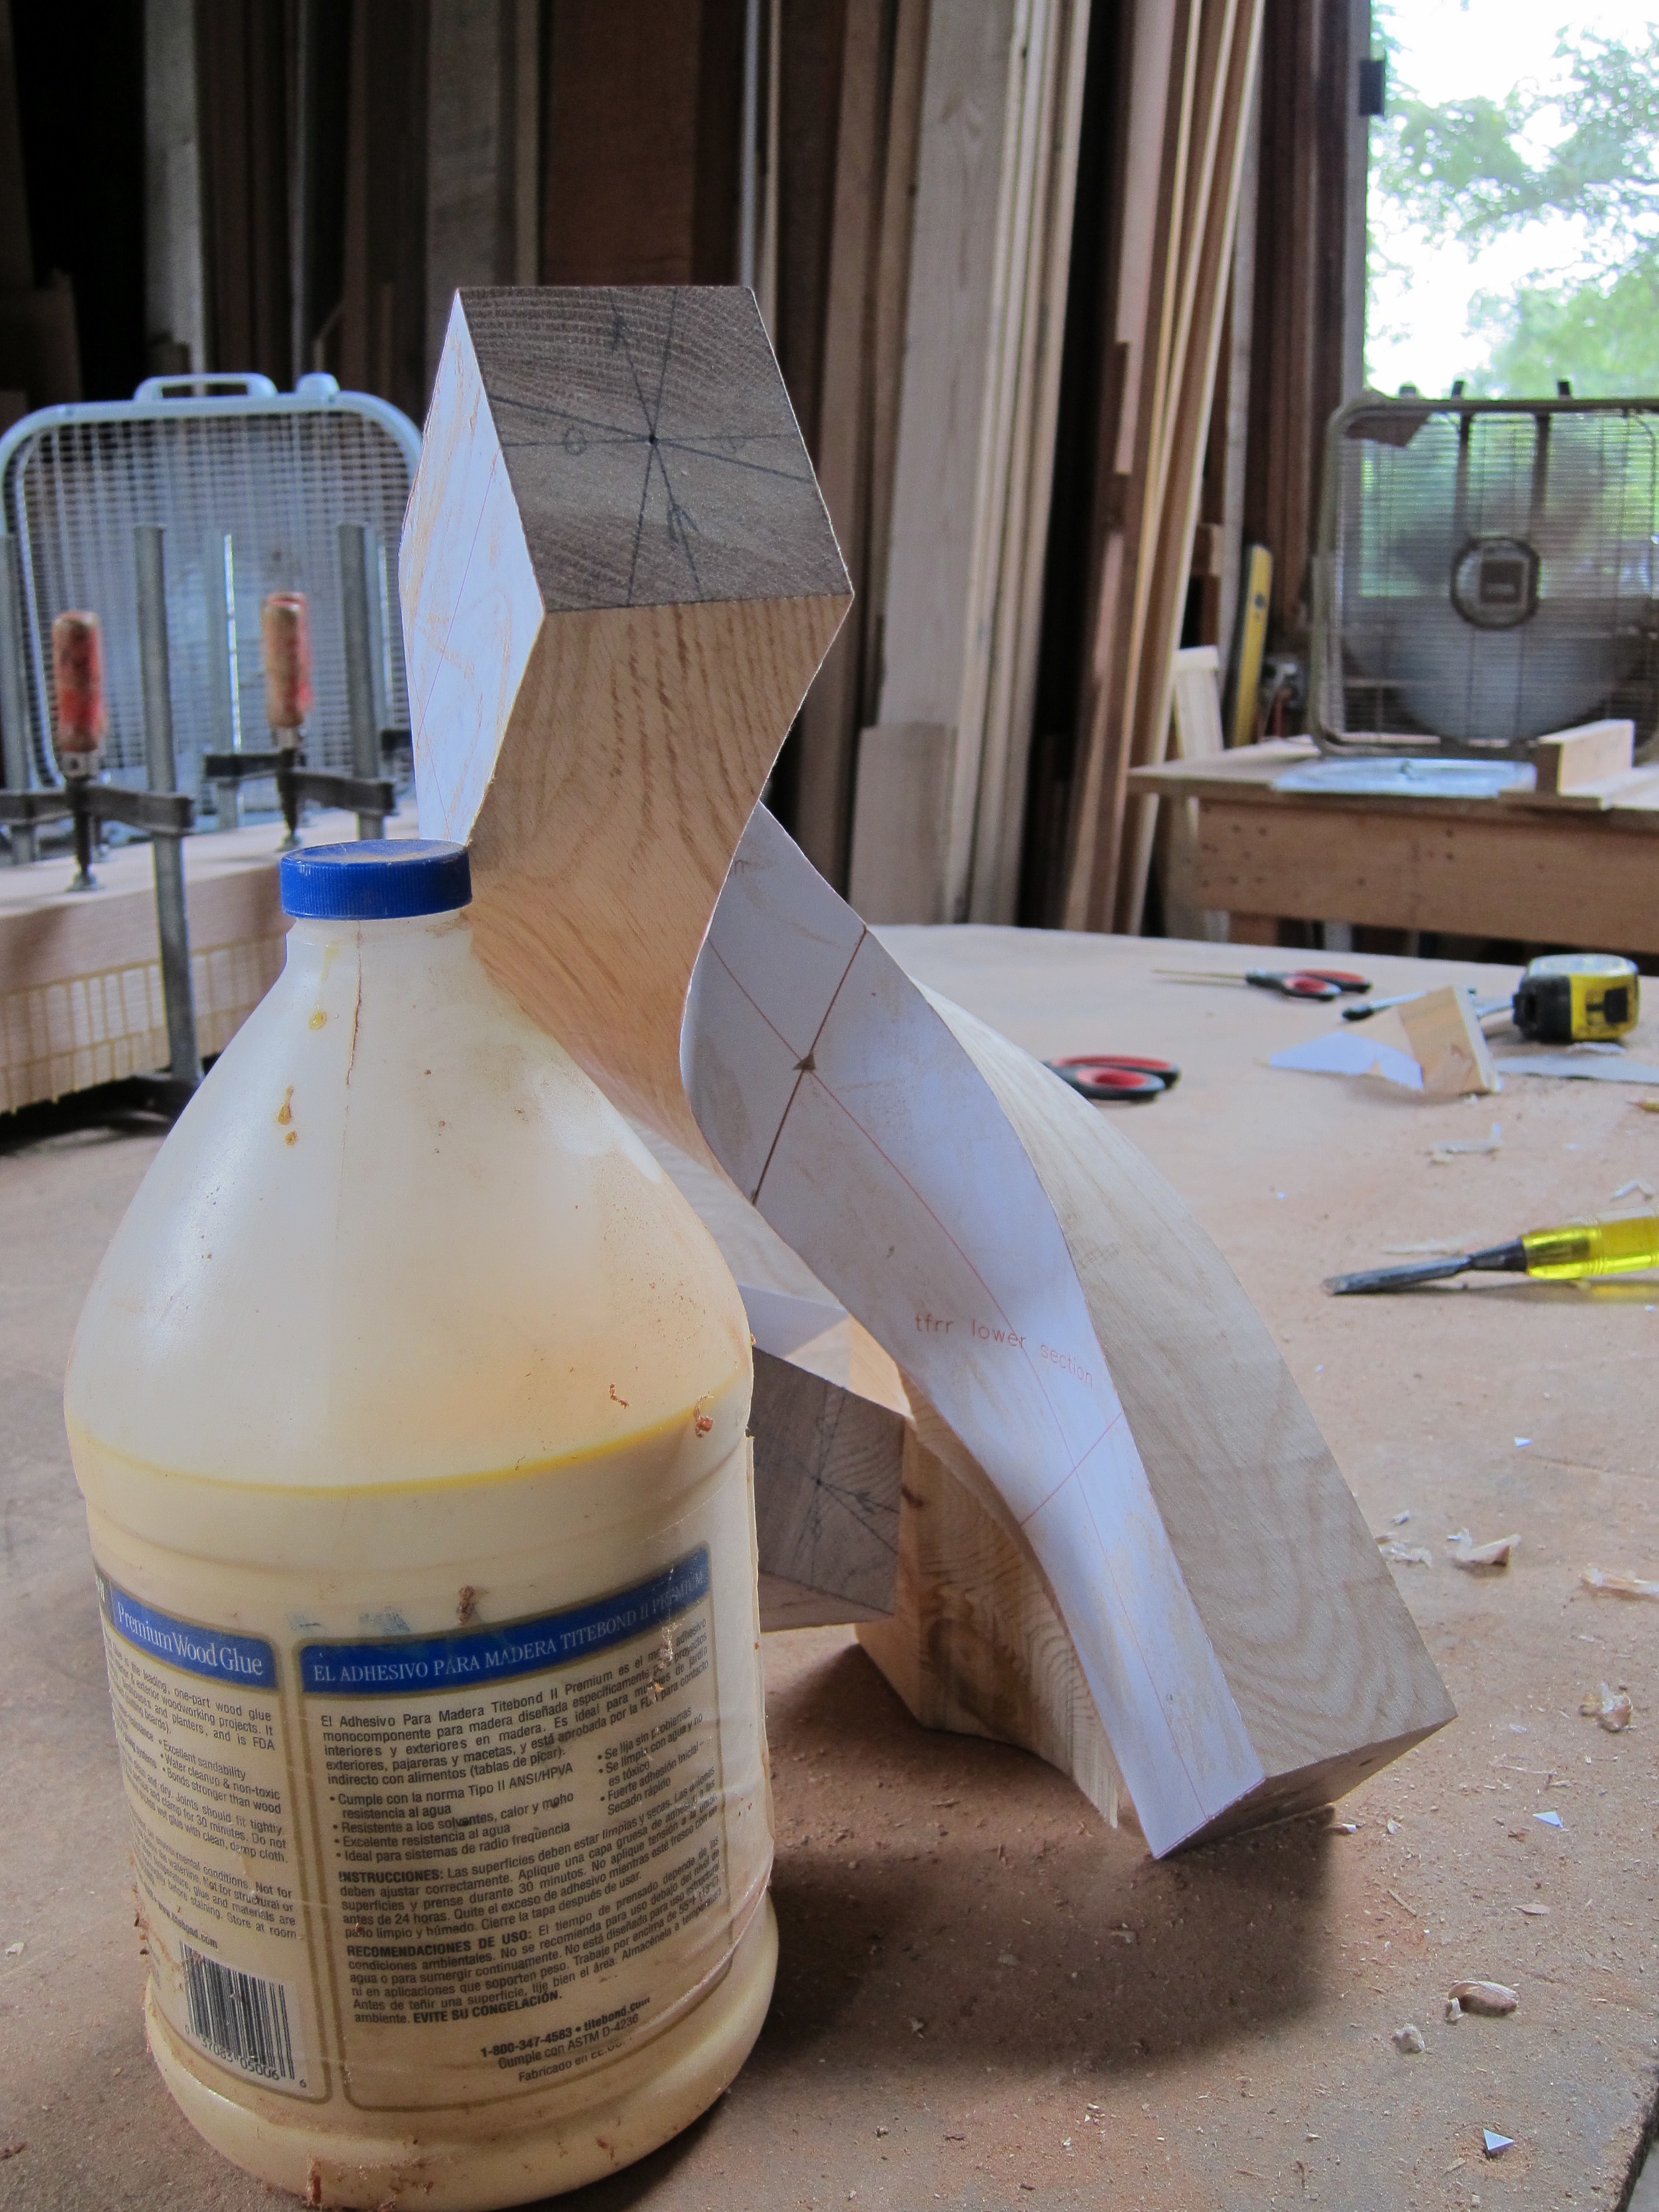
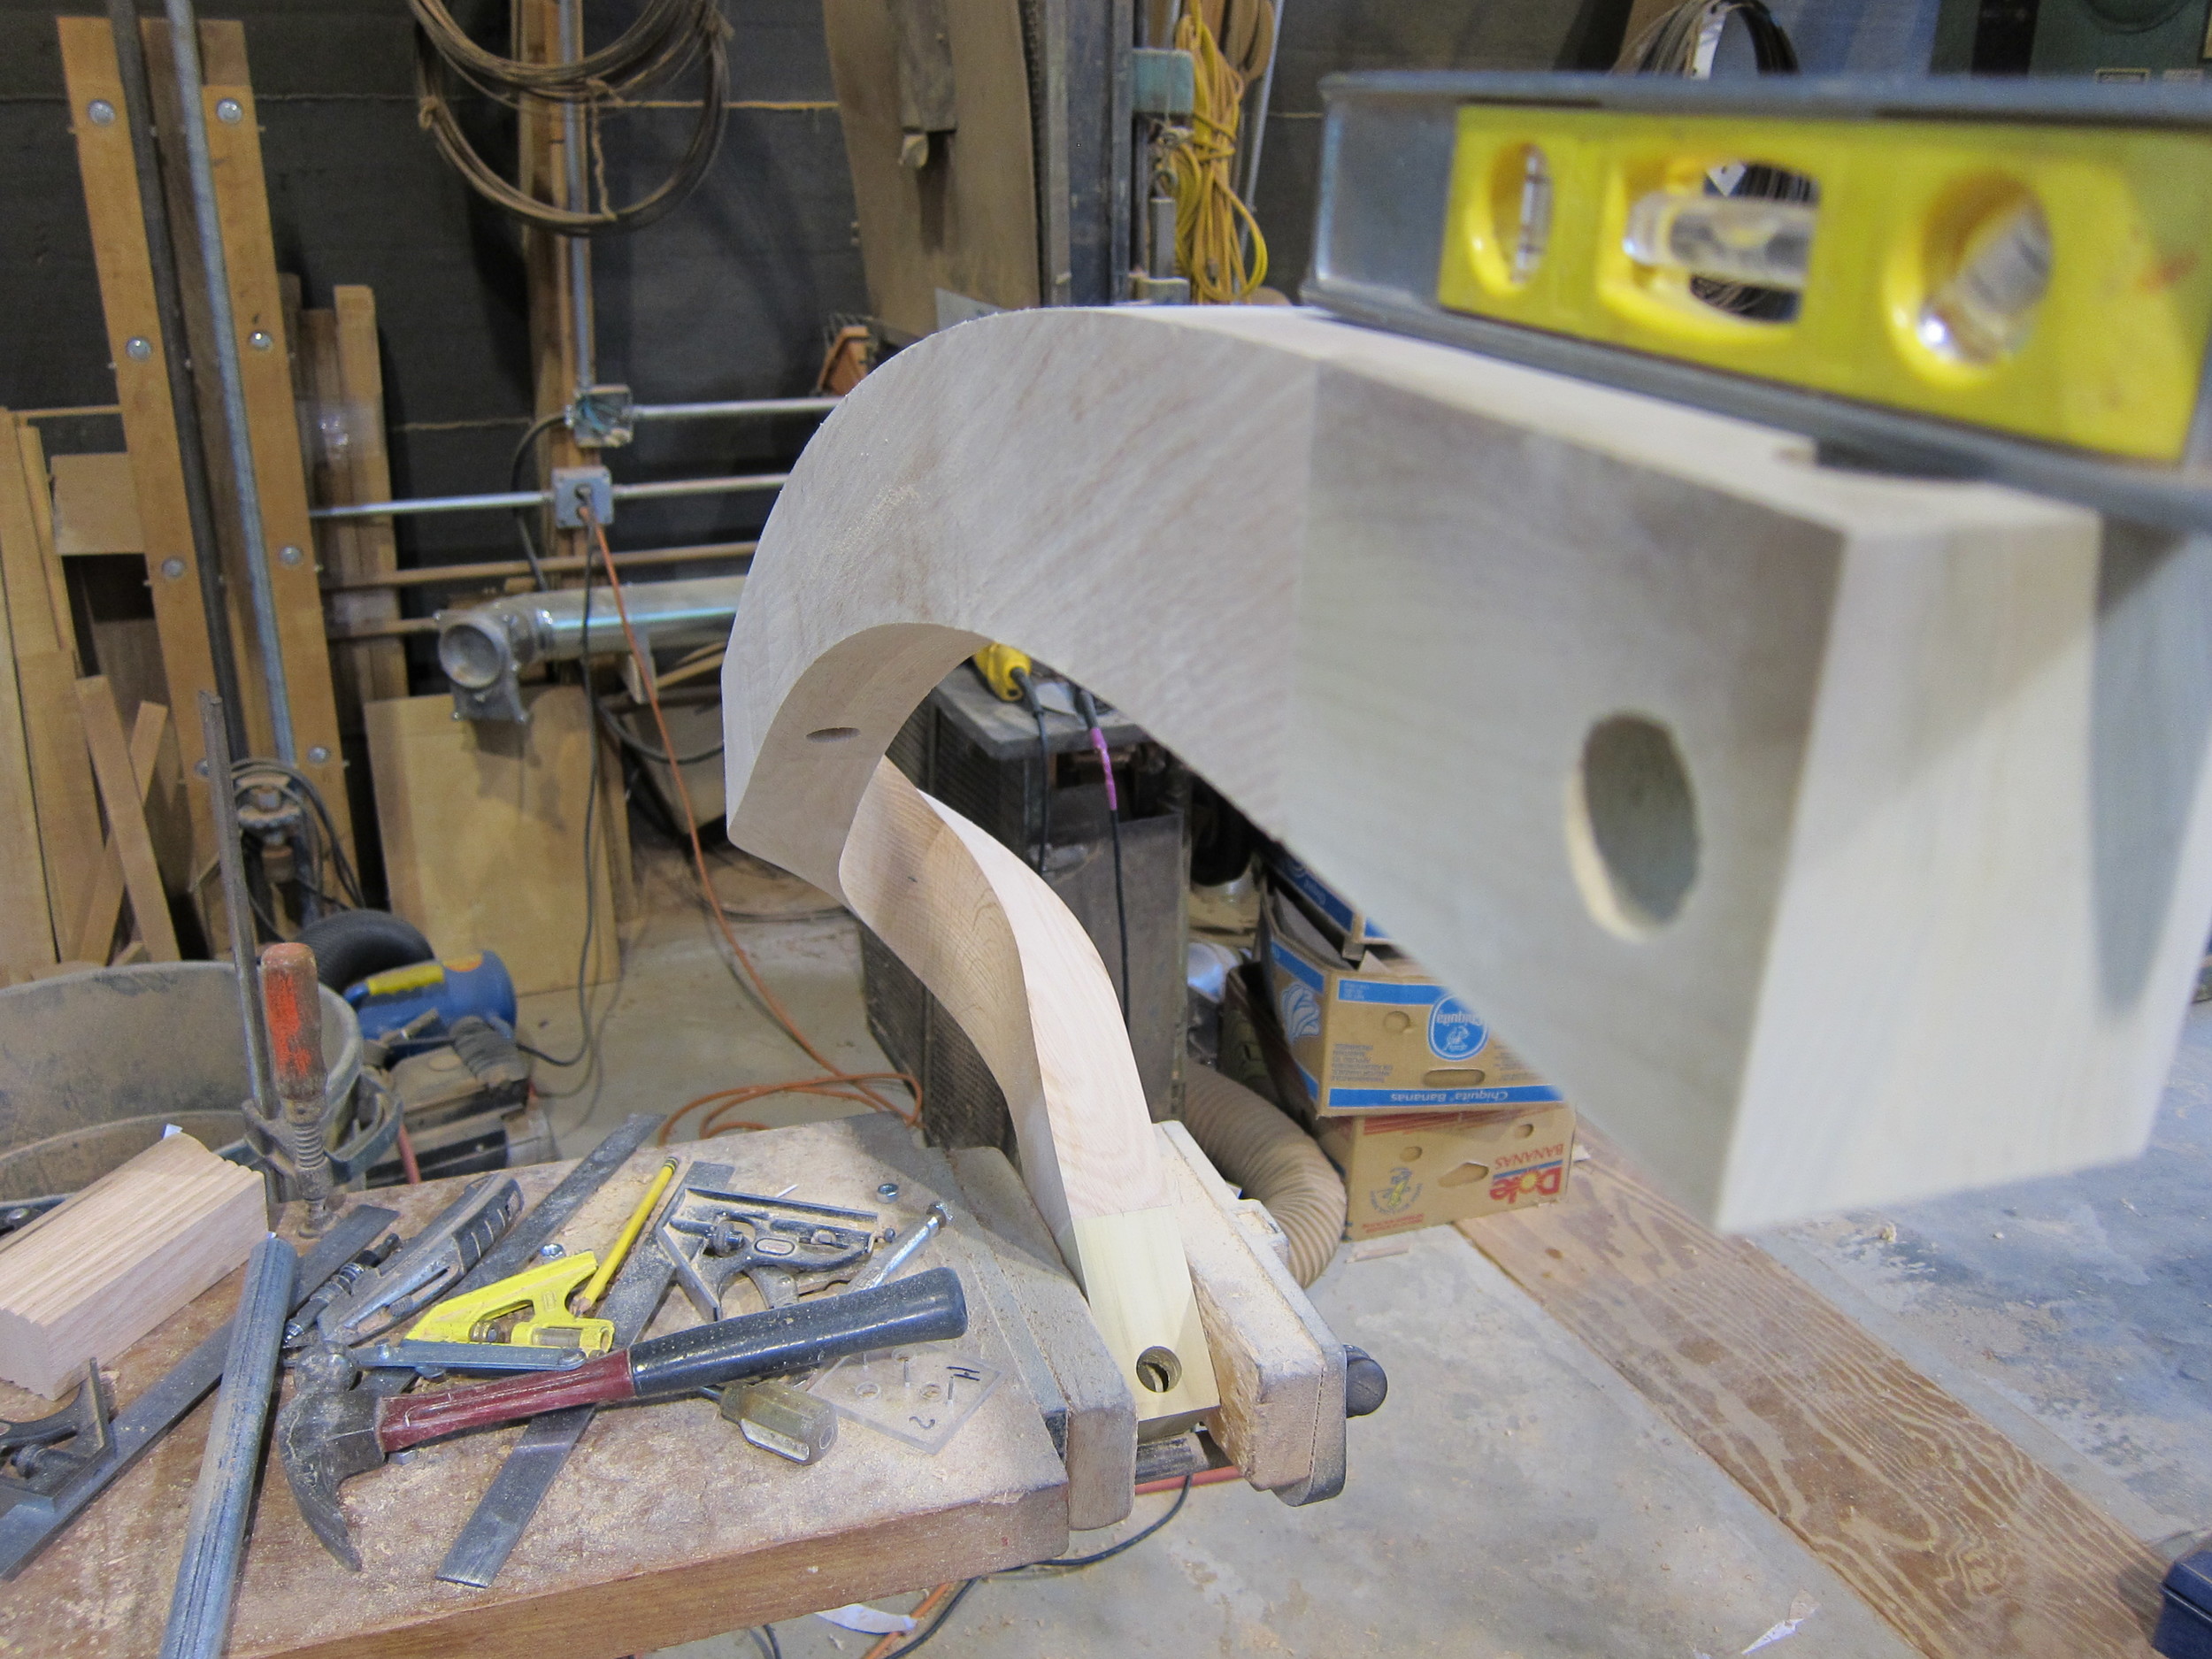
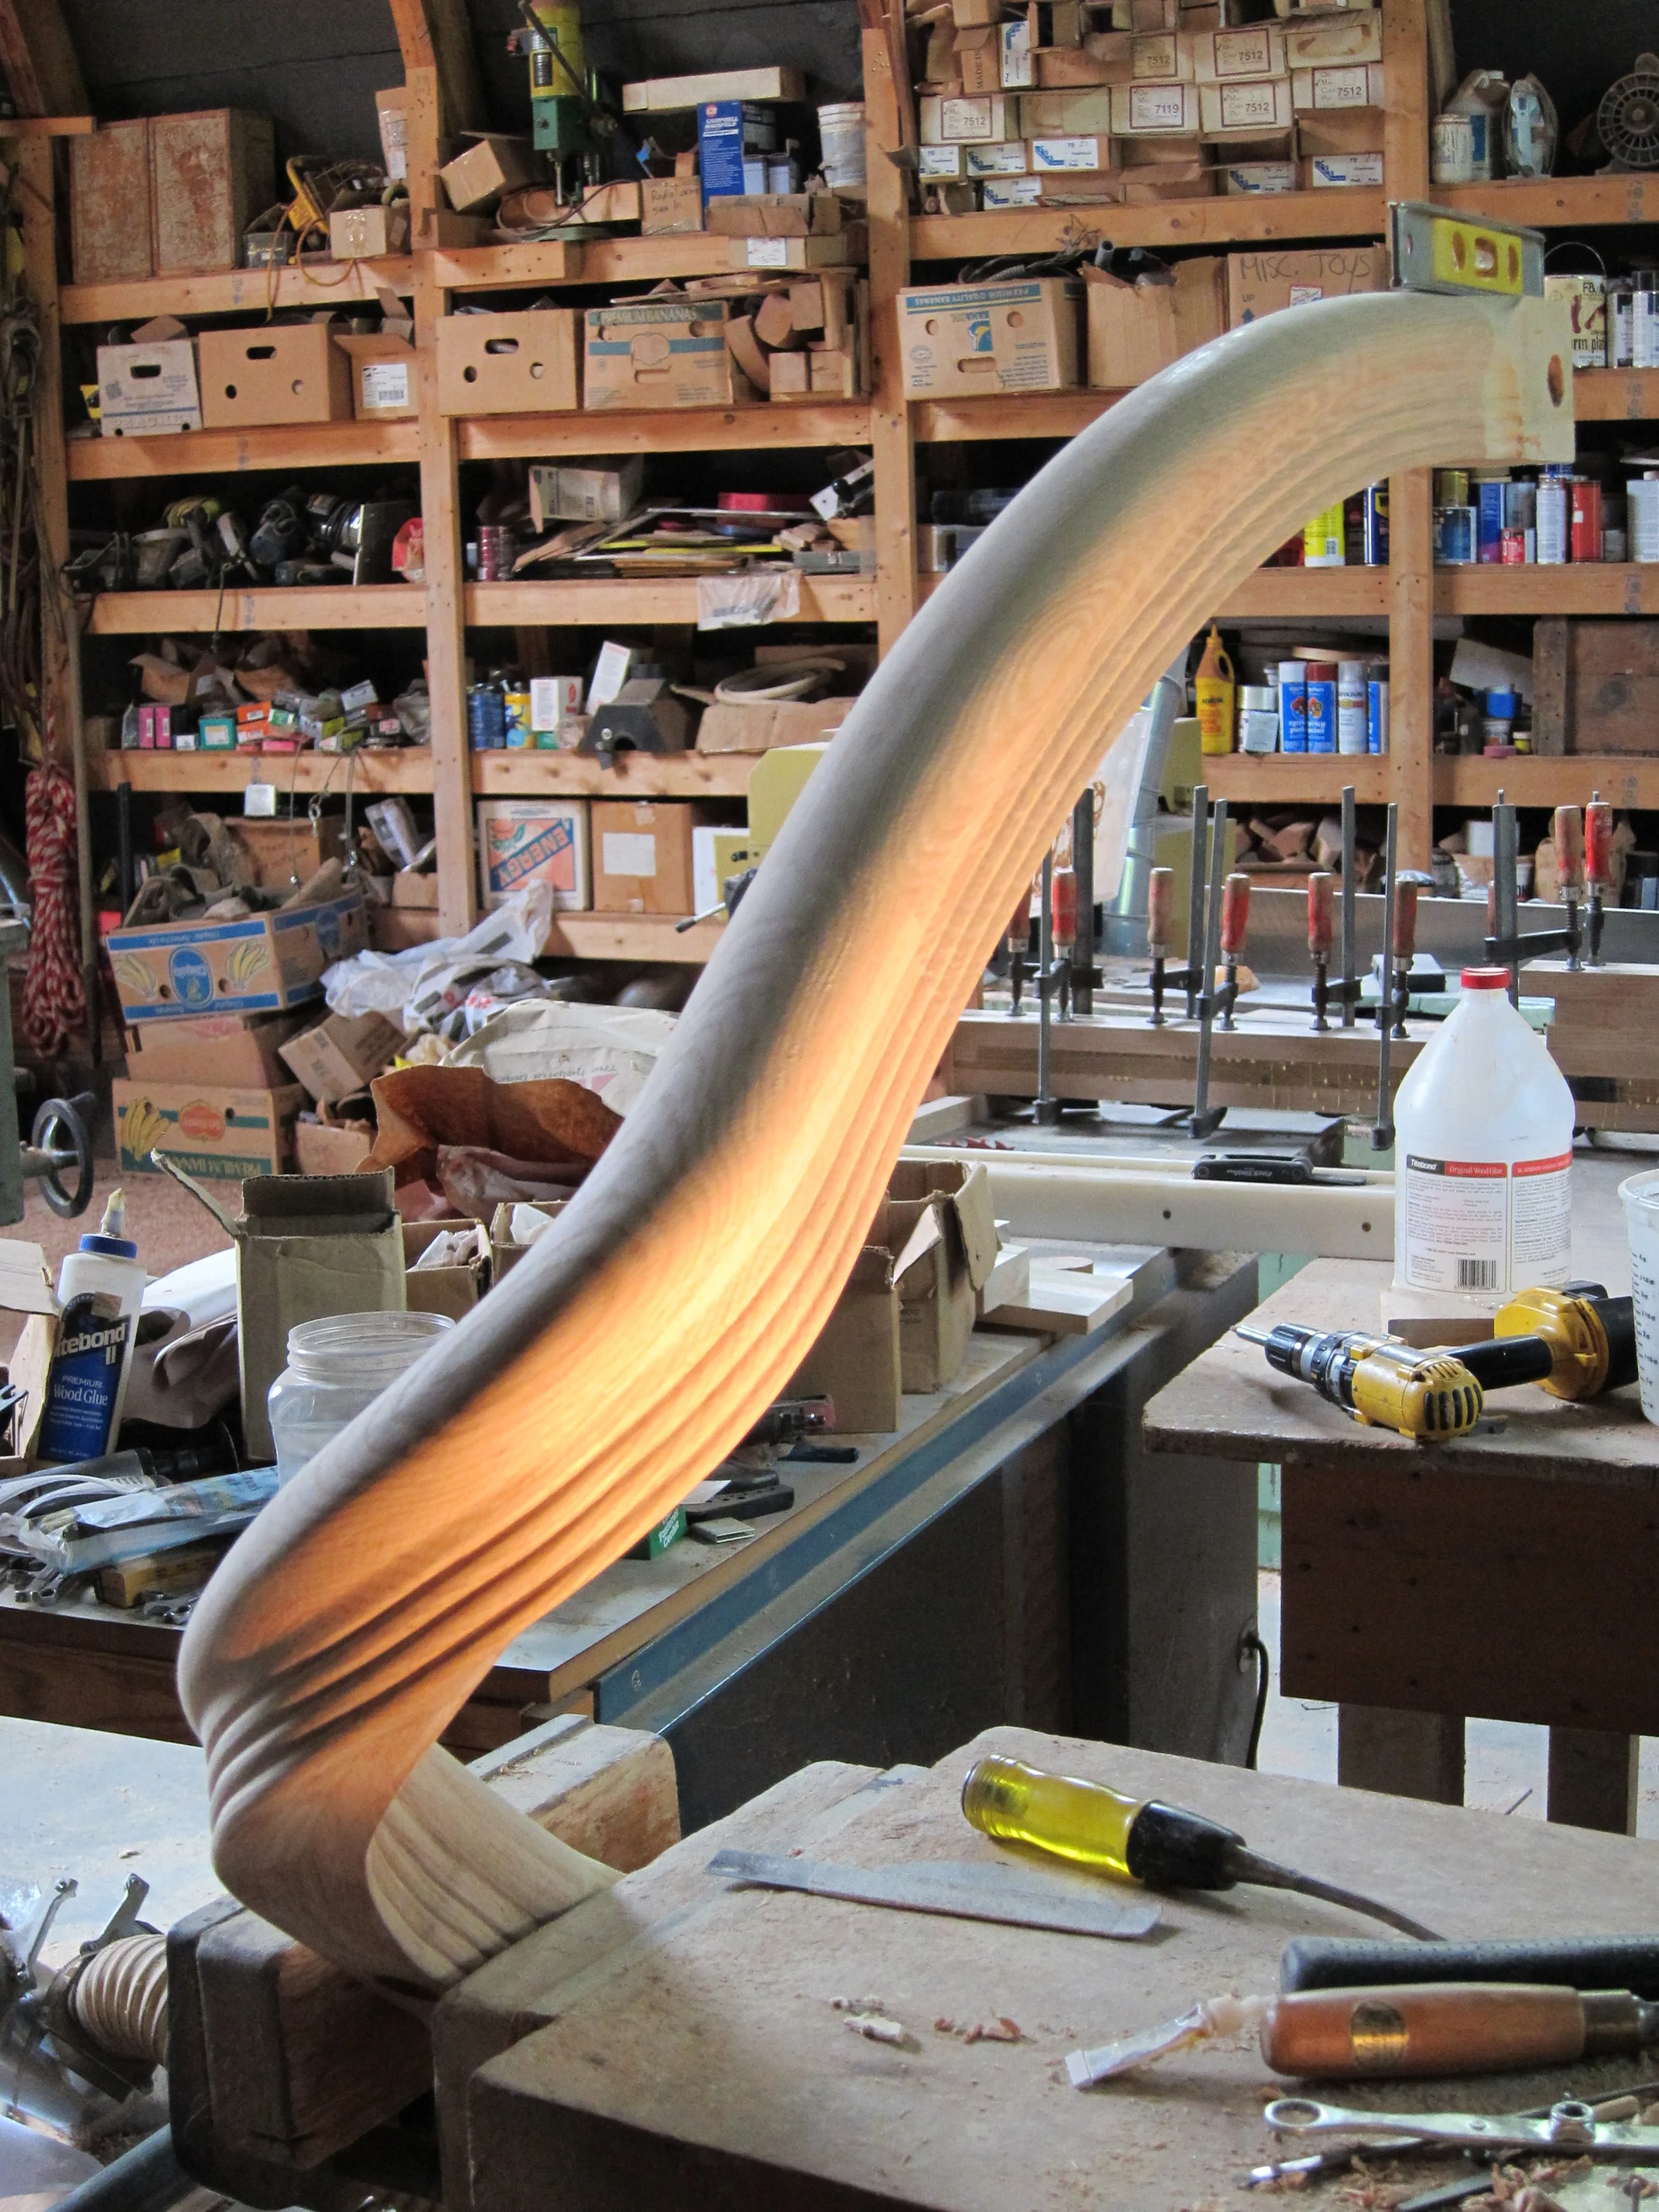
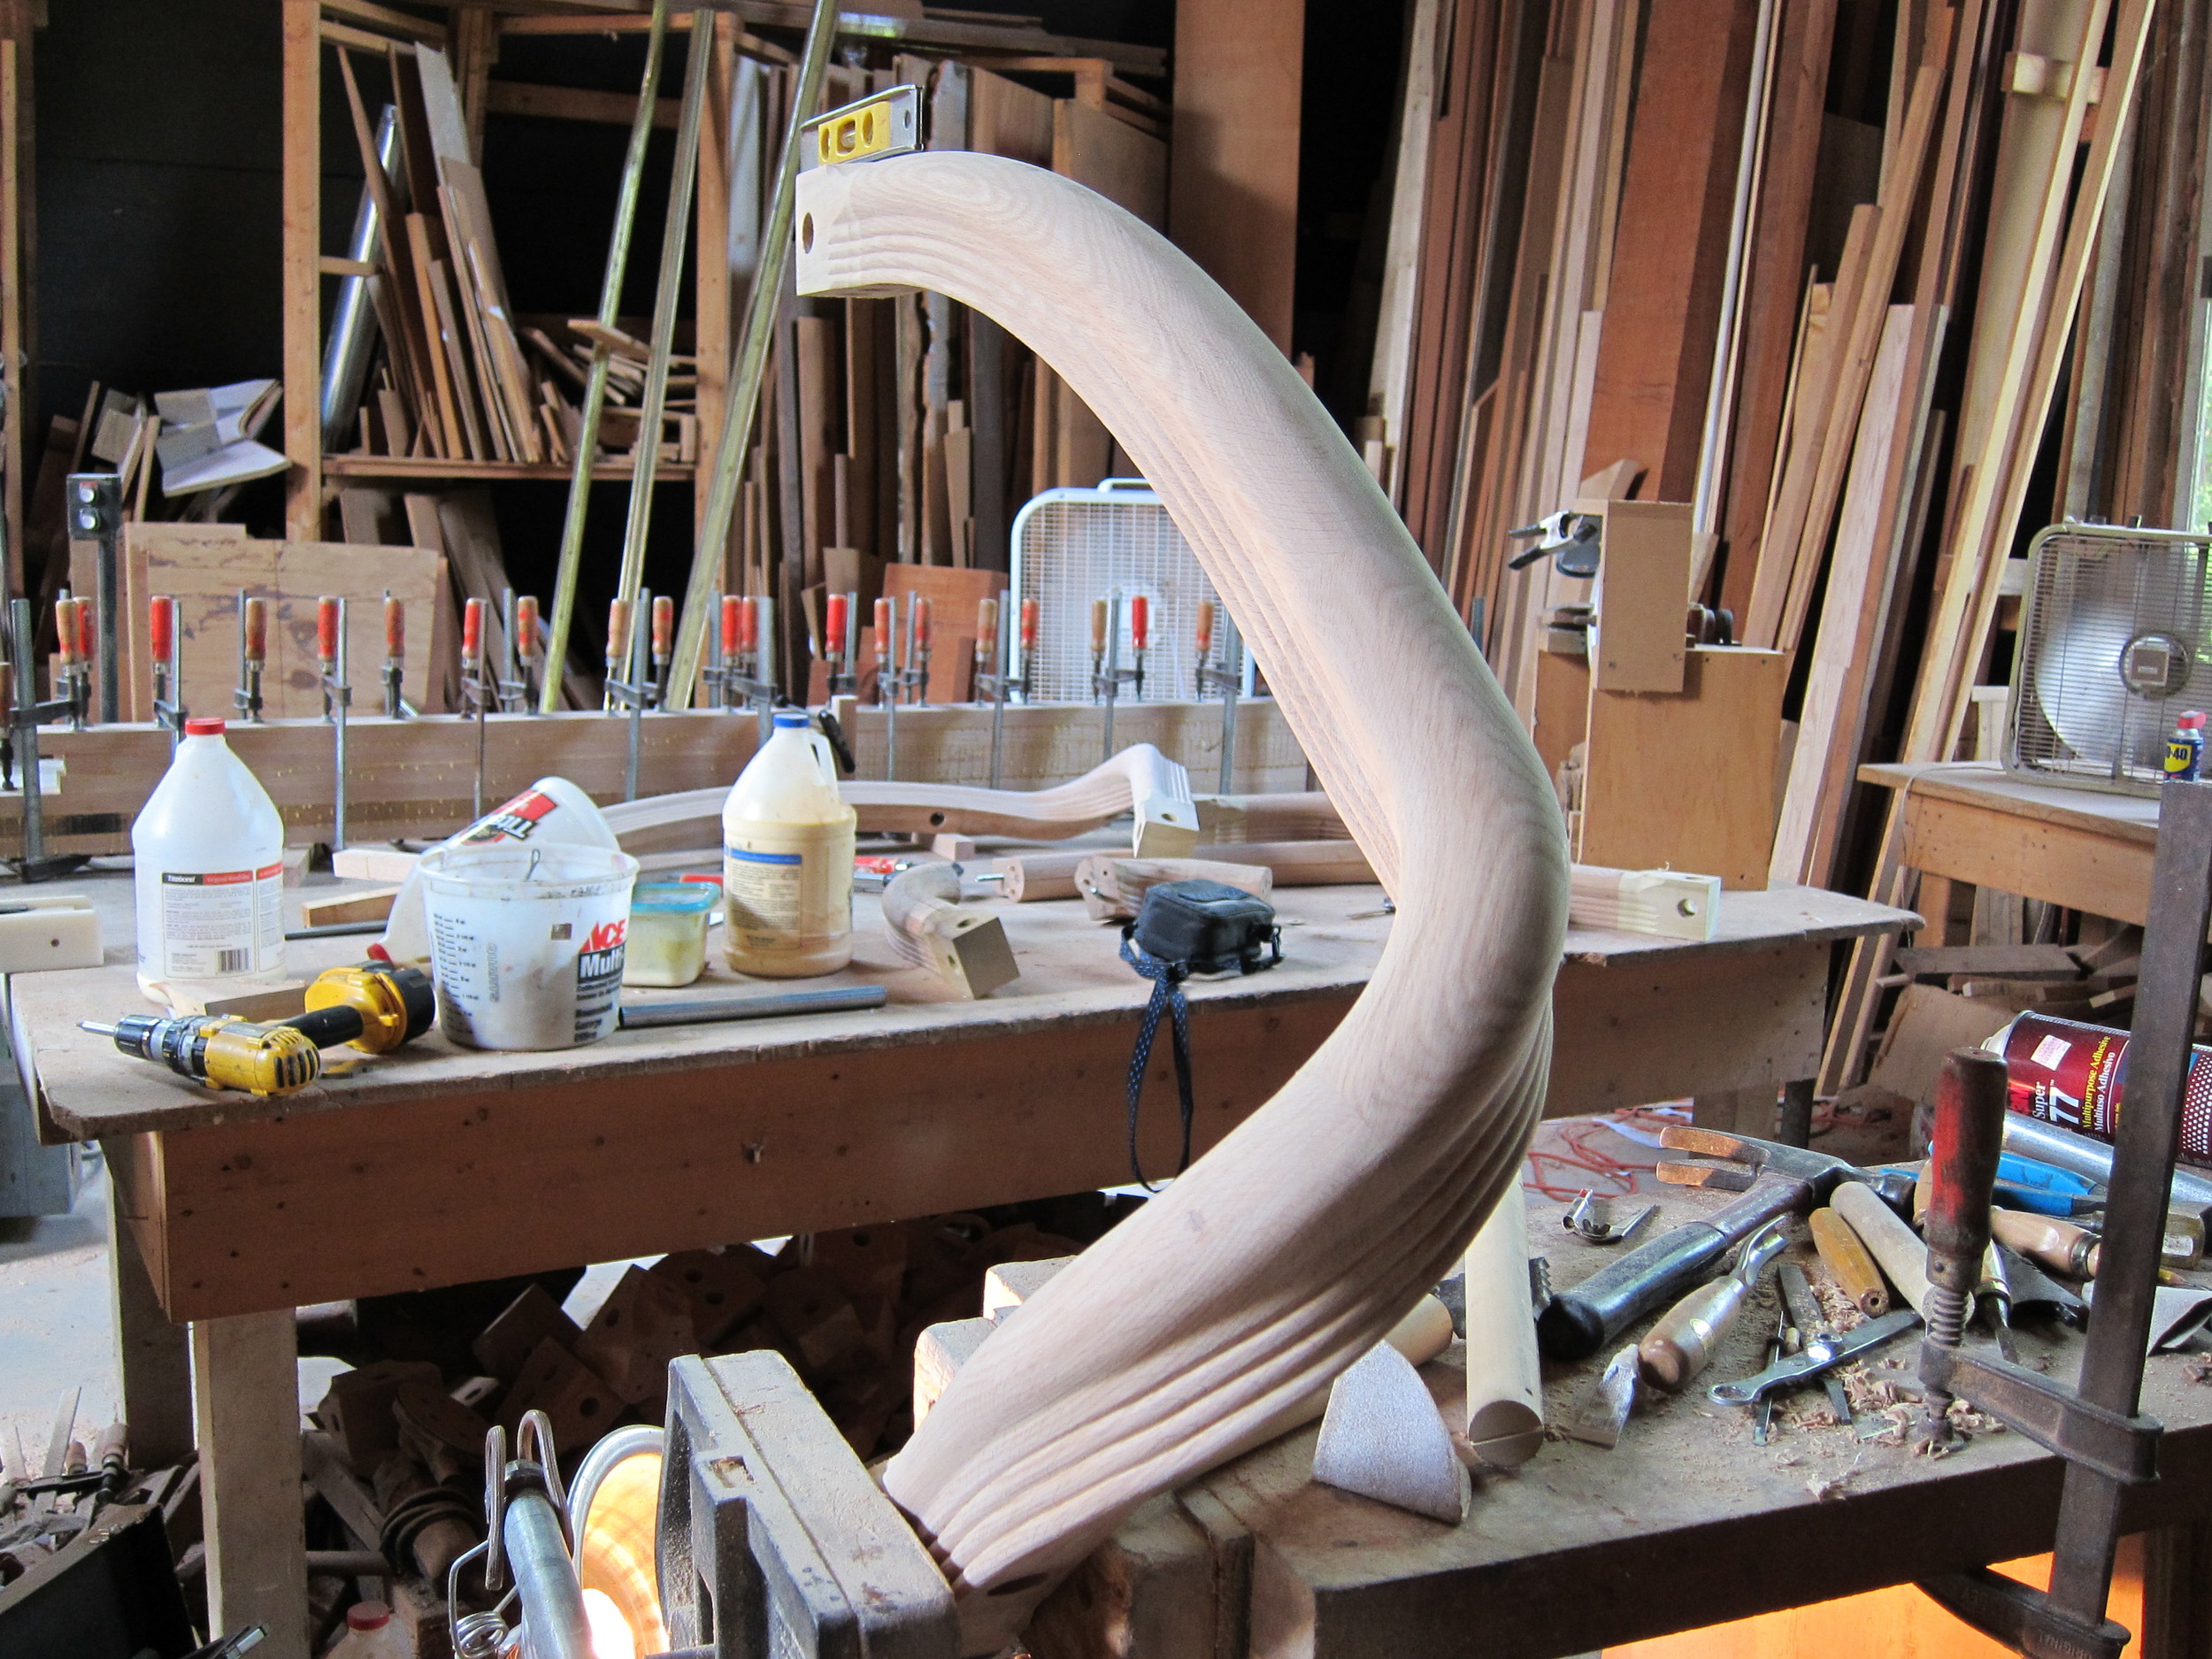
The process begins with a drawing of the stair in plan and elevation with center line of rail and joint lines. From here we go to the the cad program on the computer using the "tangent method" to begin the process of obtaining patterns or molds to apply to our wood to guide us in the proper cutting out of our handrail. Once the face molds and falling molds are drawn, I print them out full scale with a plotter and spray glue them onto my block of wood.

These two section will be joined together to make one 180 degree wreath and is now ready for the joints or ends to be cut.


After the joints are cut, the bevels obtained from the drawing are applied.


Now the blocks are attached together aligning the bevels at the joint.


This top view shows the straight  bevel lines in red at center of joint are aligned which also bring all other line into alignment.


Square out lines on end of top section now appear proper, with the blocks at there actual elevation and pitch.


Now that  the sides are band sawed out things start to take shape.


Now it is time to apply the wall paper or falling mold.


I think we could all agree that an accurate drawing is invaluable when applying these molds.


Now I split the sections at the joint and cut the top and bottom of the sections separately.


Top half done.

Square out complete.

I can now join this to a nice over easing and begin shaping.


Shaping the profile is next.


Completed wreath and easing.